
REPURPOSING & REUSING
Getting Started

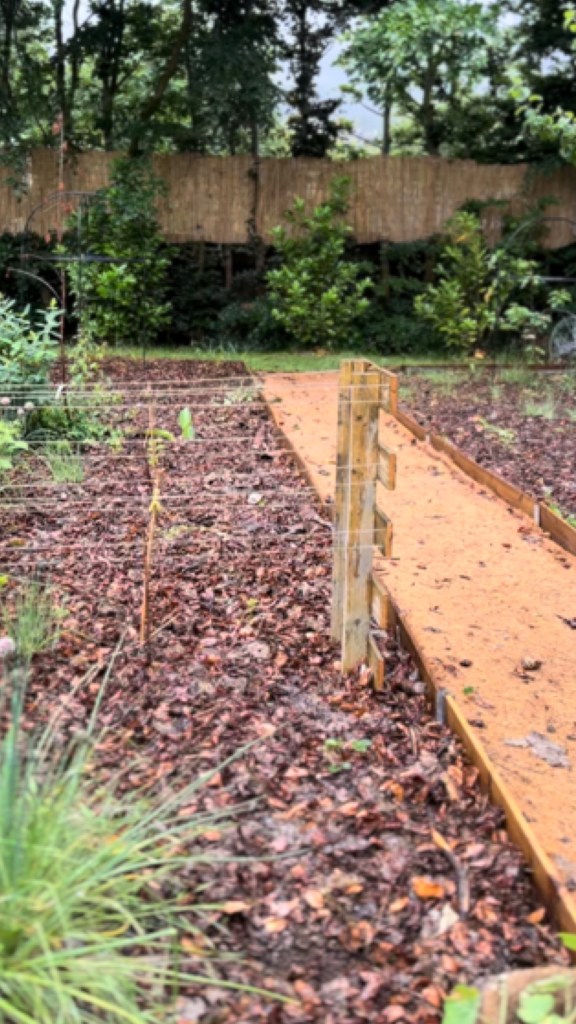
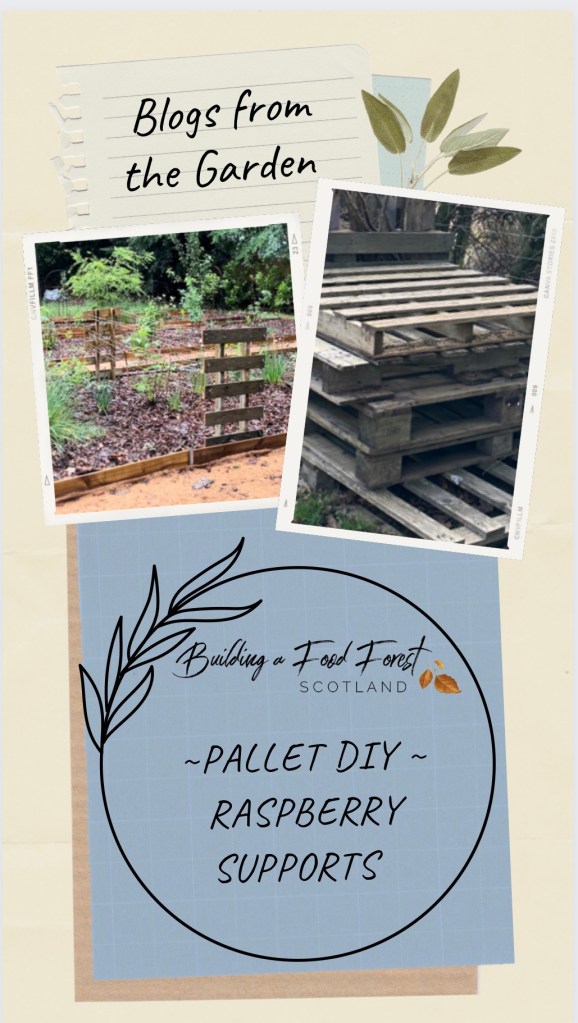
When you plant Raspberries you have to also plan for their support system. Raspberries are usually planted in rows with a system of posts and horizontal wires/string to support them. If you don’t have room for this, you can grow them singley in a pot or in a container supported by bamboo canes. The supports should be put in place at planting time. We have both rows and singles planted out raspberries.
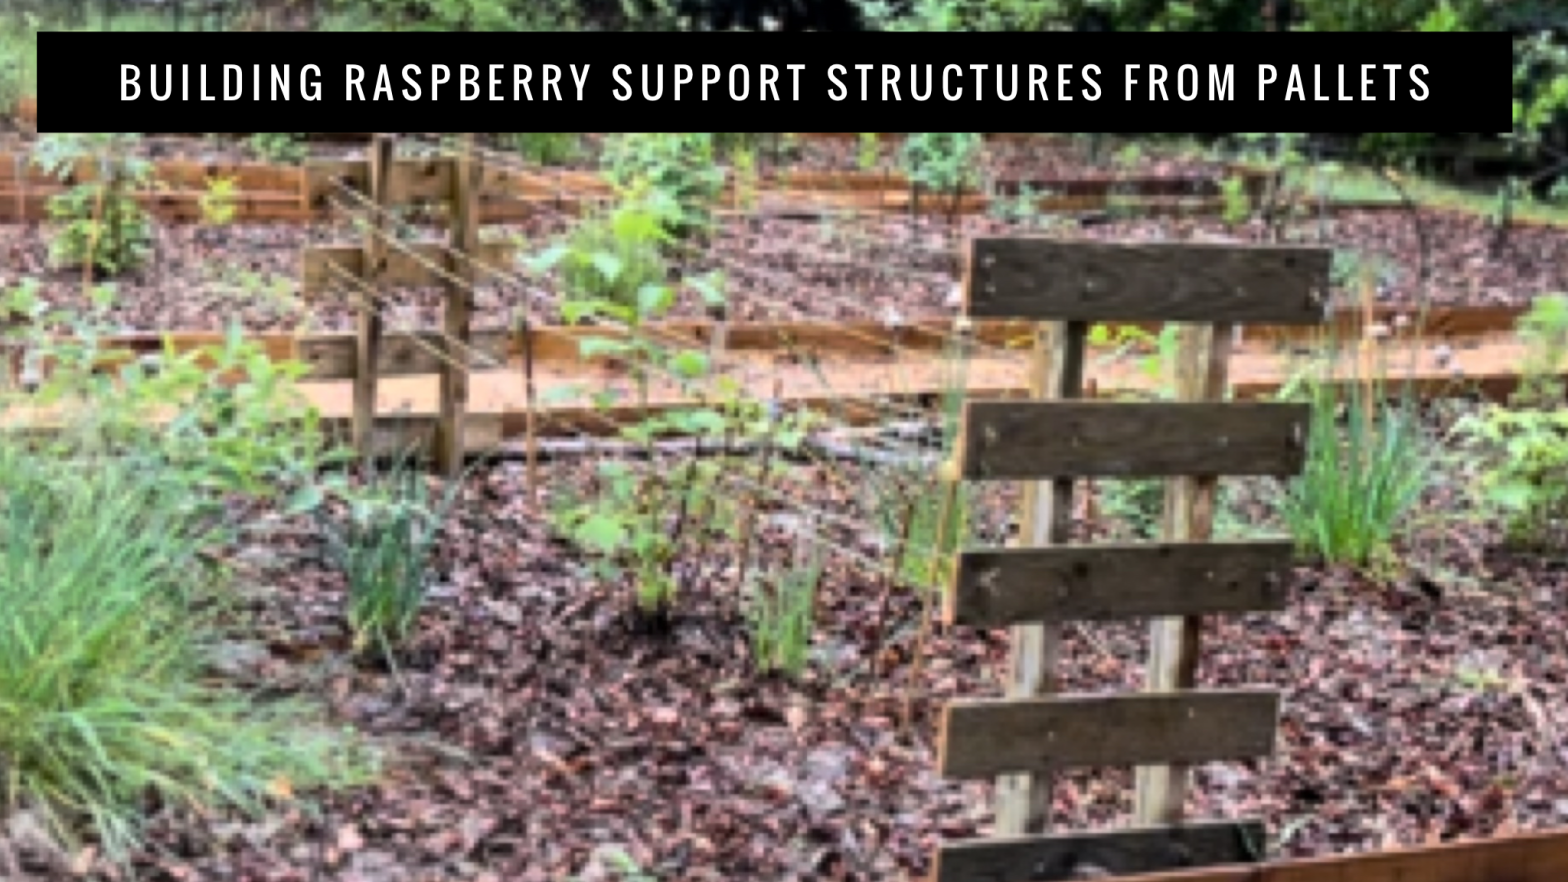
Our simple Idea for building a support system for raspberries
We are using 1 pallet to make this, screws & string. Tools required: saw, drill, screwdriver, hammer.
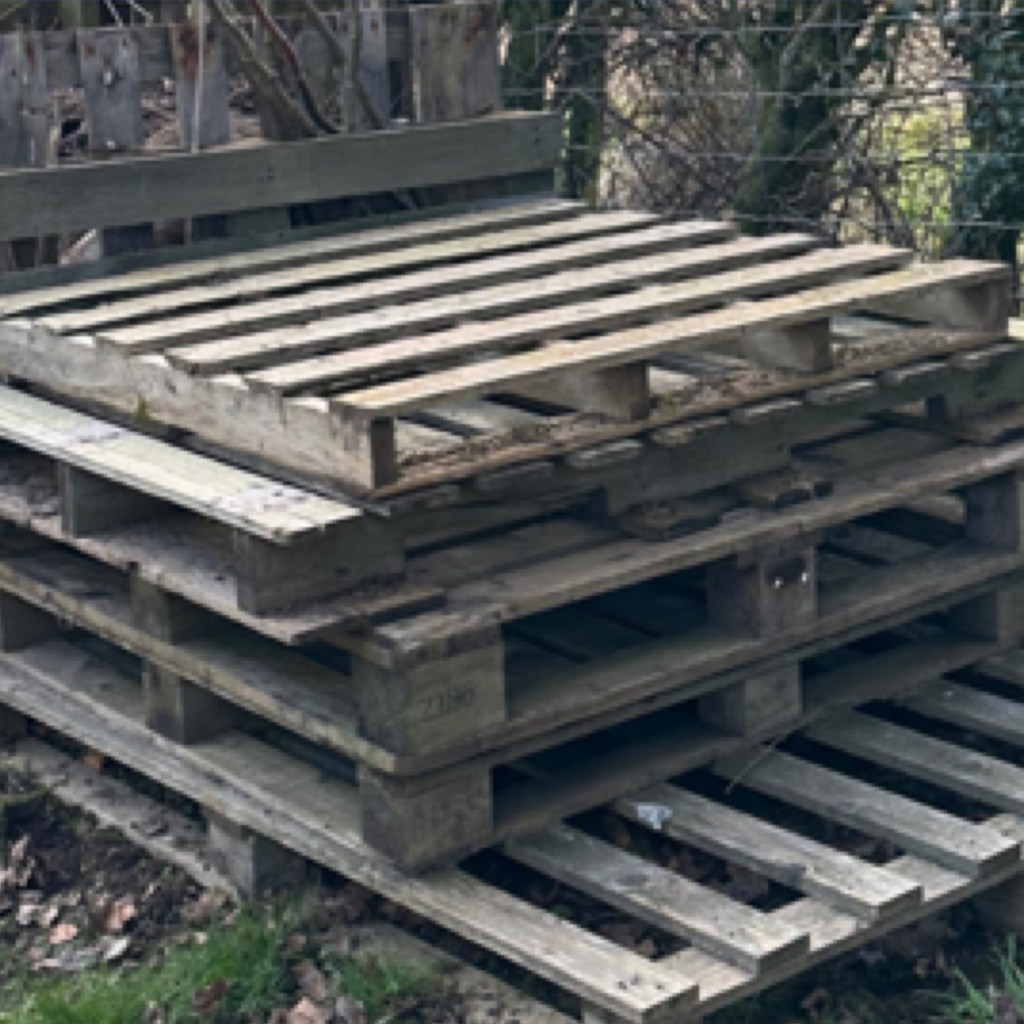
You can pick up pallets for free so this is a minimum cost project. There are always pallets lying around in people’s gardens, businesses, and the side of the road. Many companies ship items on them nowadays so asking around locally or in a local facebook group or even gumtree you’ll find people wanting rid of them. When I asked in my local community facebook group last summer, I collected 14 over the week. THAT is a lot of usable wood for free!
We used these pallets last year to make paths across our food forest where we had mulched the whole area. It was so slippery being on a slope with cardboard & mulch we couldn’t walk in the area. These last few months we’ve managed to make dedicated paths so we can now safely walk across. Leaving all these pallets ready to be used.
Use whatever you have, there is always something you have or can salvage before buying new.
Here are the easy steps we took to build a support structure for our raspberries. The process uses the least effort there is so Clayton is able to help do the rest. We have 8 in total to build.
Step One: Select the right size pallet
For this project I am looking for one that has 2 middle posts so I can just saw right down the middle and create structures with minimal effort.

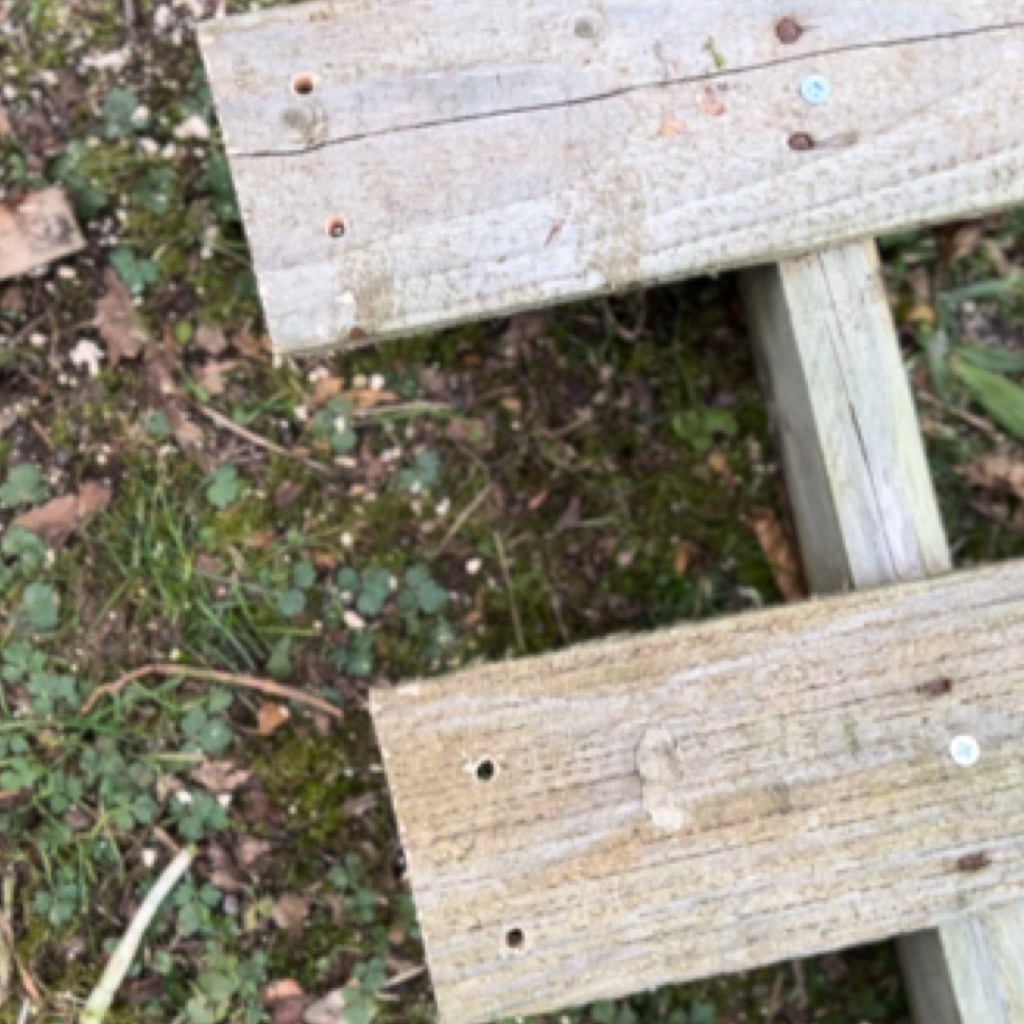
Step Two: Cut the pallet to size
I simply used this hand saw that we use for pruning, it cuts quickly and effectively. I cut straight down the middle and straight down both edges, removing as little as possible.


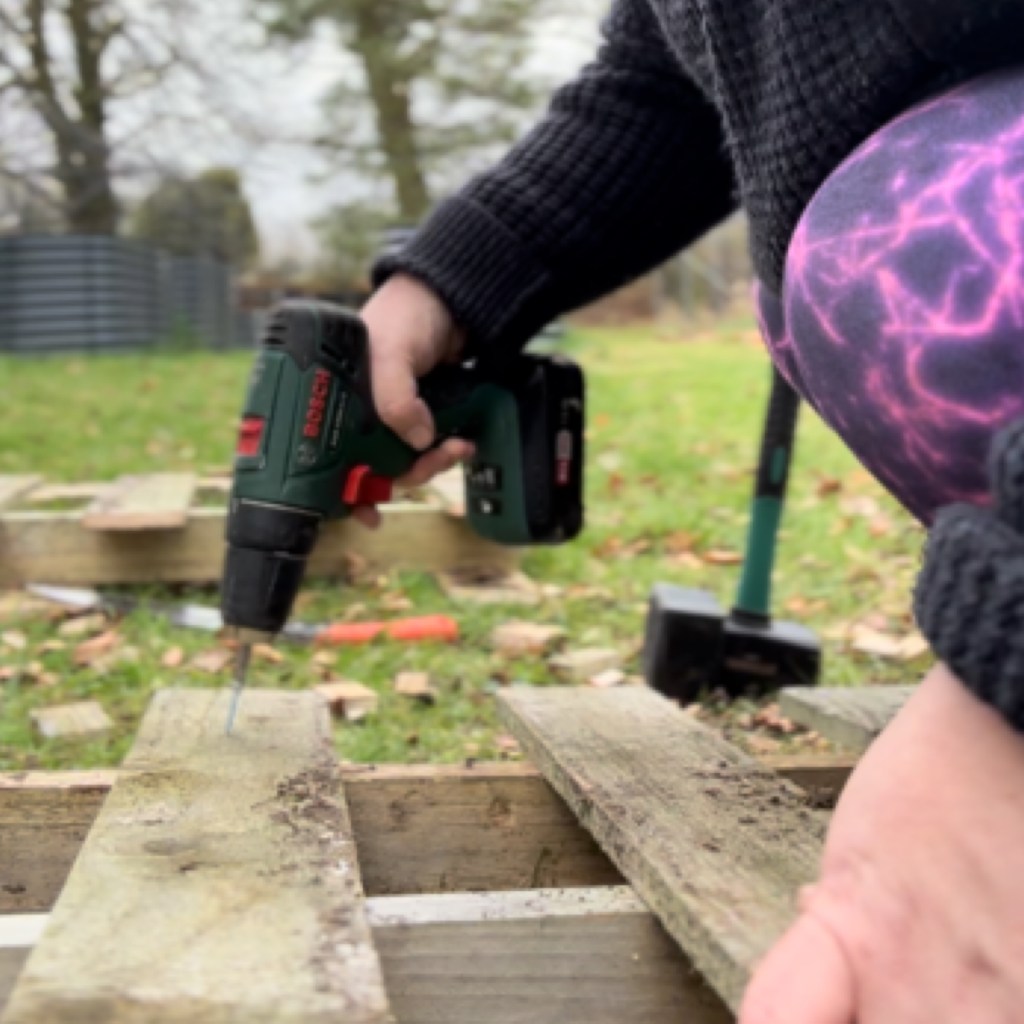
Step Three: Screwing the extra post on
Not to waste any part of the wood, I removed the small pieces of wood from the end pieces (they were knocked off with a hammer) and screwed it into place as shown so there was 2 pieces of wood for support.

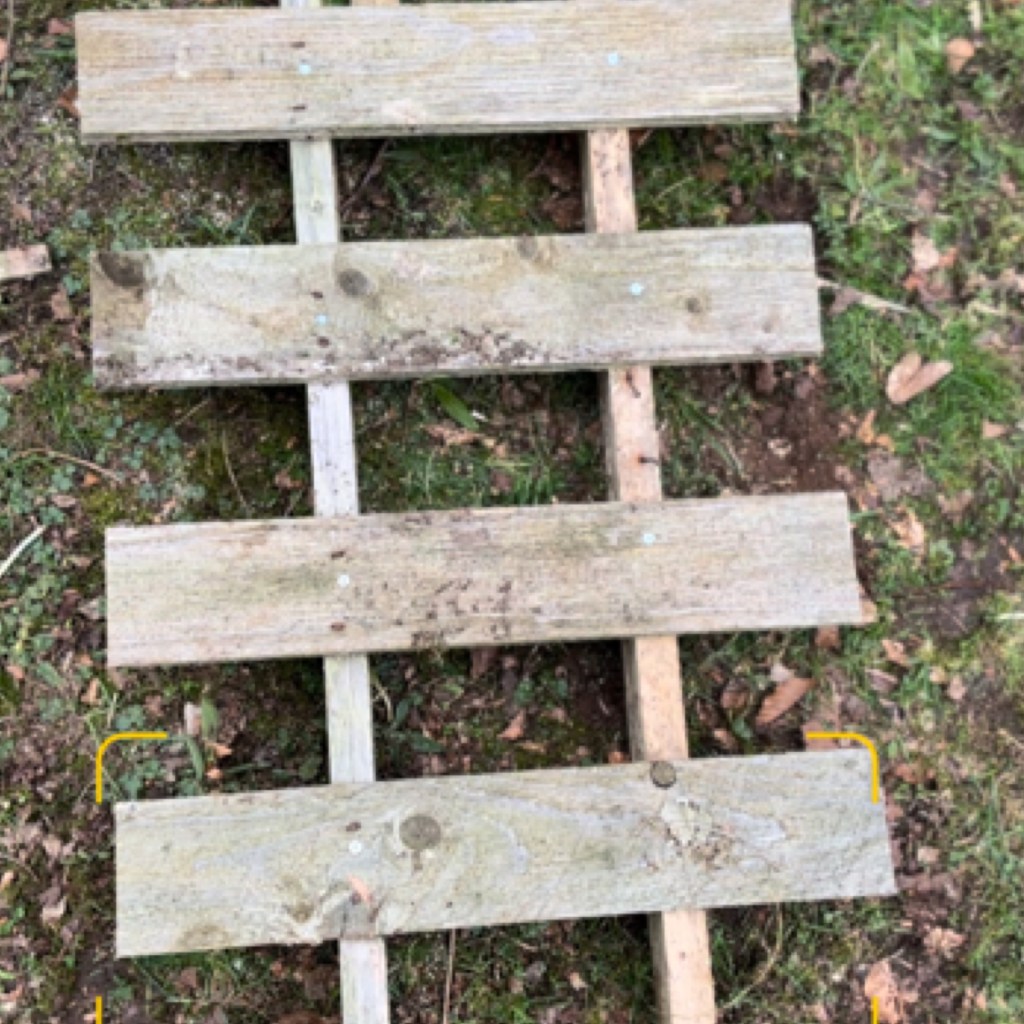
Step Four: Adding holes to thread the string through
Next I drilled double holes on the ends of each plank giving me holes to thread the string through. Make sure your holes drilled are large enough to pass the string through.
Step Five: Hammering in place and adding string
They were then hammered into the ground on either side of our row of raspberries. I used a large plastic crocheting needle to thread as that is what I had to hand.

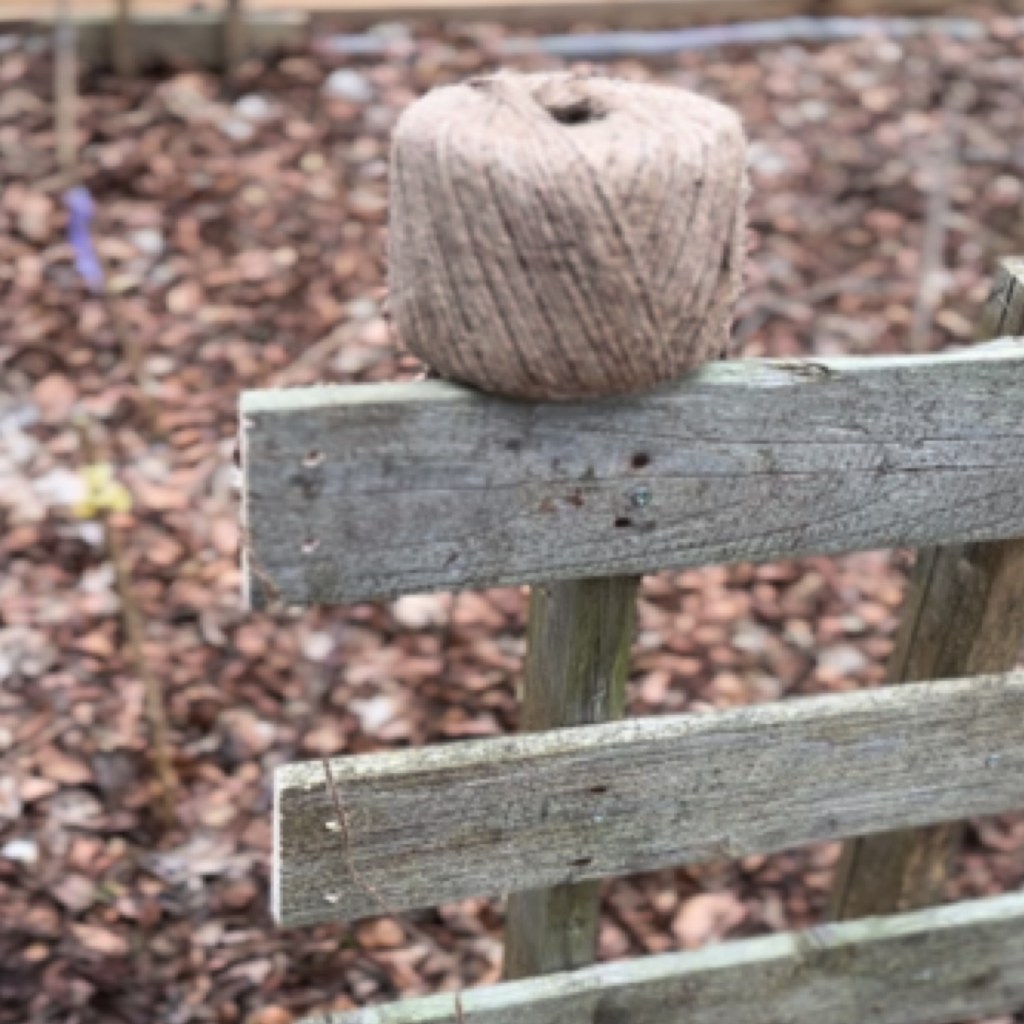

Working in the top hole taking it across to the other side top hole, going into the bottom hole and back to the other side & tied off.


And that is it. All in place ready for the raspberries to grow and be supported either side allowing good air flow underneath the plants
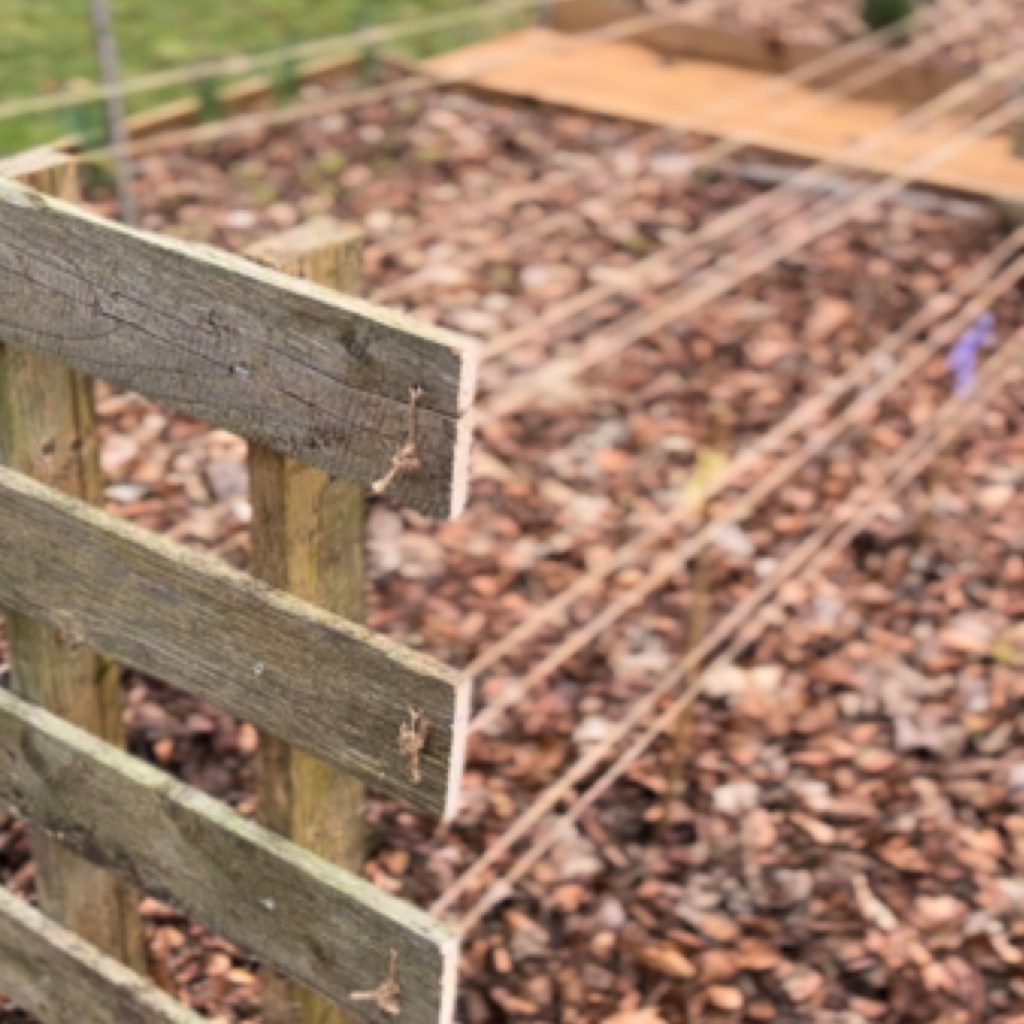

This is what it looks like today. They blend in great & are starting to support the raspberries coming up


Use what you have, before you start buying new items.
You’ll be surprised what you come up with once you start looking! What do you use?
Is this something you would try?
Leave a comment or join us on Instagram or Facebook to join the conversation

If you haven’t already sign up to get notifications on all our blog posts and join us on Instagram or Facebook


Katrina & Clayton and family live in East Ayrshire and share their daily life in the garden on instagram. They practice permaculture principles in the garden, reducing & repurposing waste whenever they can. Katrina shows how home educating in nature has helped Clayton thrive.
Clayton Completed The Grow and Learn Course with the Royal Caledonian Horticultural Society Last Year. This year he started the Level 2 Nurture Course. Clayton has just turned 16, Autistic, Non Verbal & has been Home Educated for the last 5yrs.
They featured on BBC Beechgrove Gardens Ep23 2022. They will be returning to the show later this year. Katrina & Clayton are also columnists for ScotlandGrows Magazine and Author of the new children’s book: Clayton’s New Garden Journey: A Story of Autism and Growing available on Amazon
Get new content delivered directly to your inbox.


Author of the new children’s book: Clayton’s New Garden Journey: A Story of Autism and Growing available on Amazon
Discover more from Building a Food Forest -Scotland
Subscribe to get the latest posts sent to your email.

Another amazing idea for me to copy. Thank you for sharing your progress and new ideas on a garden budget. I am years behind you and just beginning my growing journey.
LikeLike
Thank you for the love. So many ways to save in the garden without buying new, including plants. Look forward to seeing your journey too. Say hi to us on instagram/facebook/threads. Have a great day
LikeLike