
Get Weekly Blogs Straight To Your Inbox

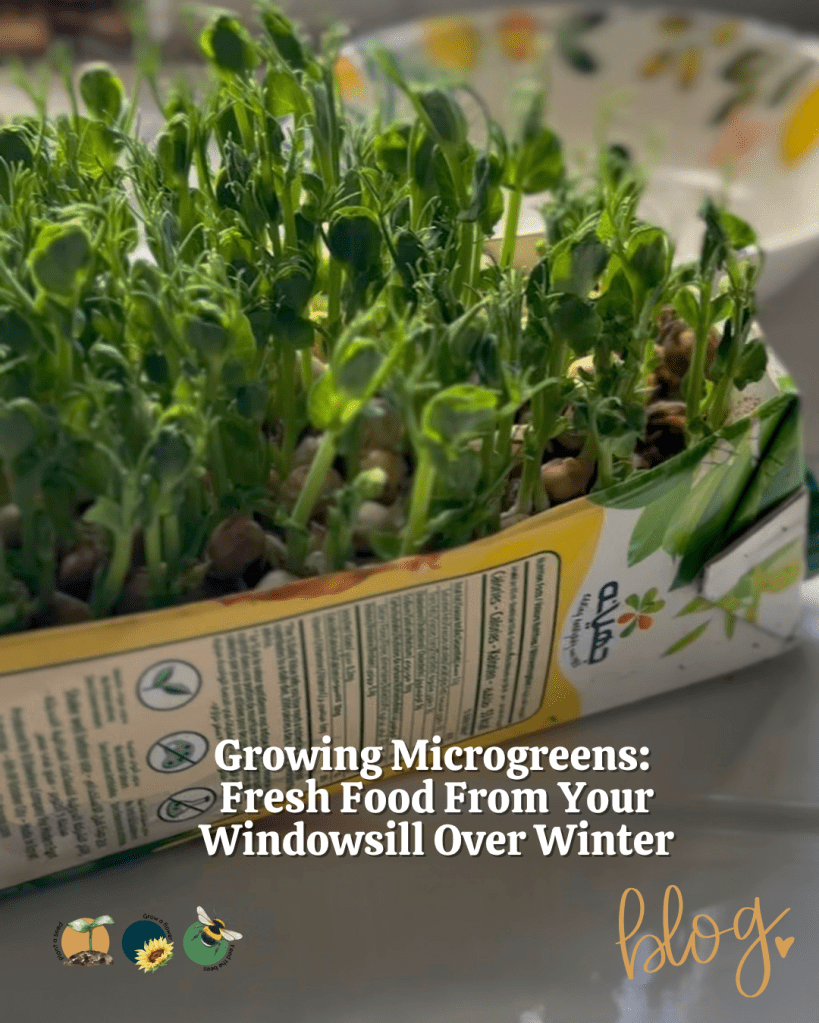
Growing Microgreens: Fresh Food From Your Windowsill Over Winter
When the long Scottish winter sets in and the garden slows to a crawl, it’s easy to miss the joy of harvesting something fresh, green and alive. But you don’t need a heated greenhouse or acres of space to keep growing food all year round, you just need a few containers, some seeds and a sunny windowsill. Enter microgreens: the small but mighty plants that bring homegrown nutrition and flavour to your plate in as little as 10 days.
What Are Microgreens?
Microgreens are young seedlings of edible plants, harvested when they’re about 2–3 inches tall, older than sprouts but younger than baby leaves. At this stage, they’re packed with concentrated nutrients and flavour. Studies have shown that microgreens can contain up to 40 times more vitamins and antioxidants than mature plants.
You can grow them from a wide range of seeds, including salad greens, herbs and even root vegetables. The best part? They take up minimal space, grow quickly and thrive indoors, they are perfect for those dark days when the garden is asleep.
Why Grow Microgreens Over Winter?
Fresh food year round: Even when your garden beds are frozen, you can harvest greens every week.
Boost nutrition: Microgreens are rich in vitamins A, C, E, and K, plus minerals like iron and magnesium.
Minimal space and effort: A kitchen windowsill, conservatory, or shelf under a grow light is all you need. Read about grow lights if windowsills are limited: The Importance of Seed Starting with Heat Mats and Grow Lights
Sustainable and low cost: You can reuse household containers and avoid plastic packaging from supermarket salads and eat it fresh daily rather than it being weeks before it gets to you.
Best Microgreens to Grow Indoors
Not all seeds perform equally in the cooler, lower light conditions of a Scottish Winter. The following varieties are reliable, fast growing, and delicious:
Radish: Quick to germinate and ready in about 7 days. Peppery and crunchy.
Pea shoots: Sweet and tender, perfect in stir-fries or sandwiches and easy to get hold of from any supermarket.
Sunflower: Mild, nutty flavour, one of the most substantial and satisfying microgreens.
Mustard: Spicy and aromatic, adds zing to winter soups.
Kale: Nutrient dense and cold tolerant, making it ideal for Winter conditions.
Broccoli: High in sulforaphane, a compound linked to immune and detox benefits.
Coriander or parsley: Slower growing but adds a lovely herby freshness to meals. and great as an ongoing windowsill herb. See our blog post on setting up a windowsill garden: 10 Reasons Why You Should Start a Windowsill Garden
If your home is quite dim in Winter, focus on fast and hardy greens like radish, mustard and pea shoots, which can handle lower light.
How to Grow Microgreens Indoors (With Soil)
What You’ll Need:
Shallow Tray or recycled container (more on that below)
Potting mix or peat free seed compost
Seeds (choose untreated, organic if you can)
Spray bottle for watering (or something with a soft, light flow)
Growing Spot: a bright windowsill or small grow light
Step by Step Guide
- Prepare Your Tray: Use a shallow bowl or cut down card milk carton along the front.
- Fill With Compost: Add 2-3 cm of moist potting mix, level it gently.
- Sow Seeds Densely: Scatter seeds evenly across the surface. Don’t worry about spacing, microgreens grow close together.
- Press Lightly: Gently press seeds into the soil, then mist with water.
- Cover For Germination: Place another tray, plate or piece of cardboard on top for 2-3 days to keep seeds in the dark and moist.
- Light & Water: Once sprouted, remove the cover and place in bright light. Mist daily to keep the soil damp but not soggy.
- Harvest: When seedlings reach 2-3 inches tall (usually 7-14 days), cut them just above the soil with scissors.
After harvesting, compost the old roots and soil or reuse it for one more round if it’s still clean and disease free.
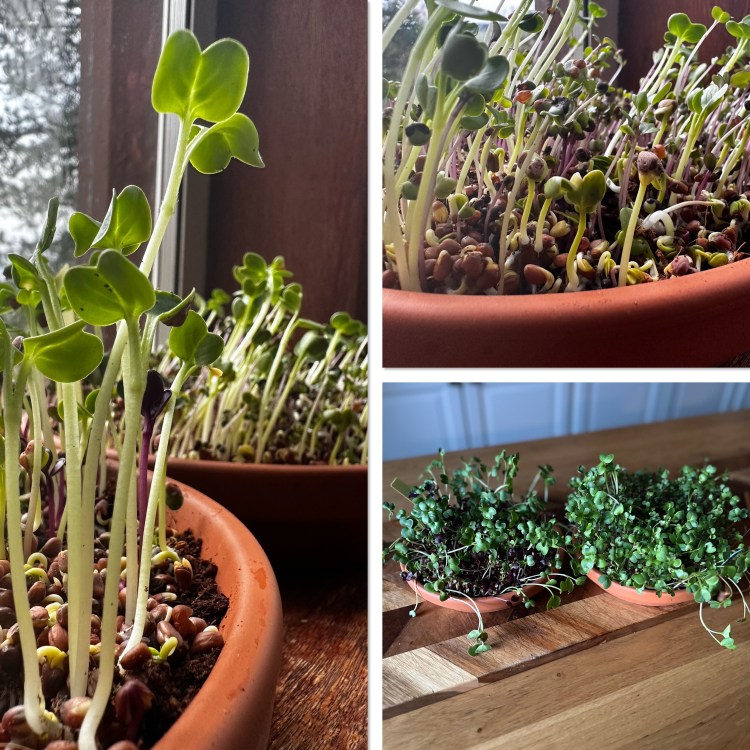
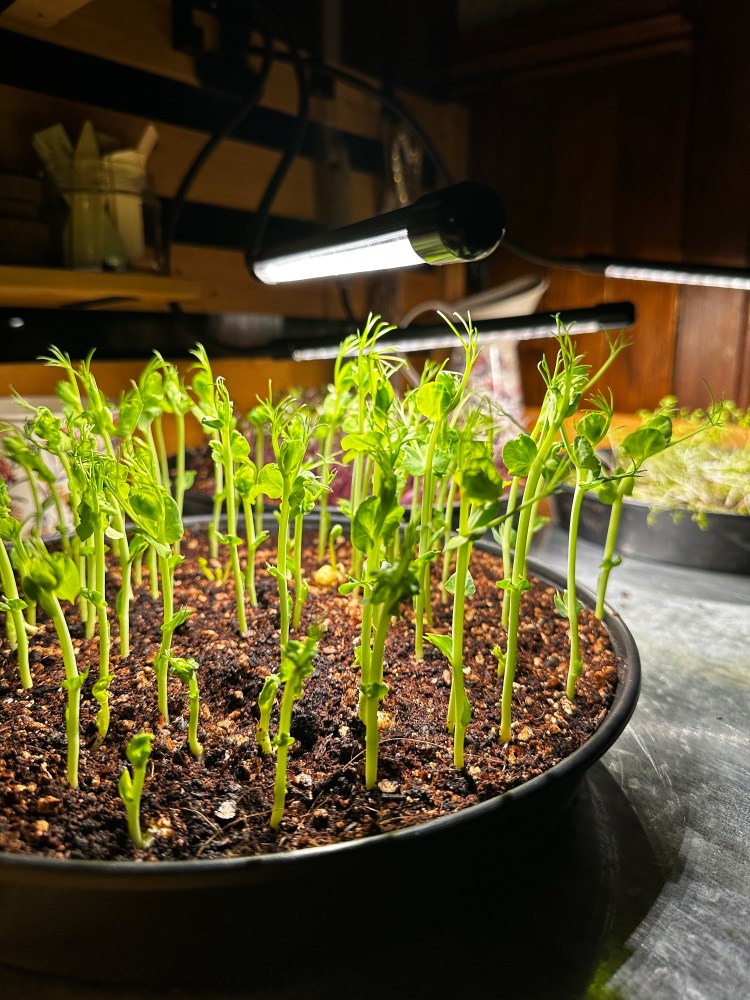
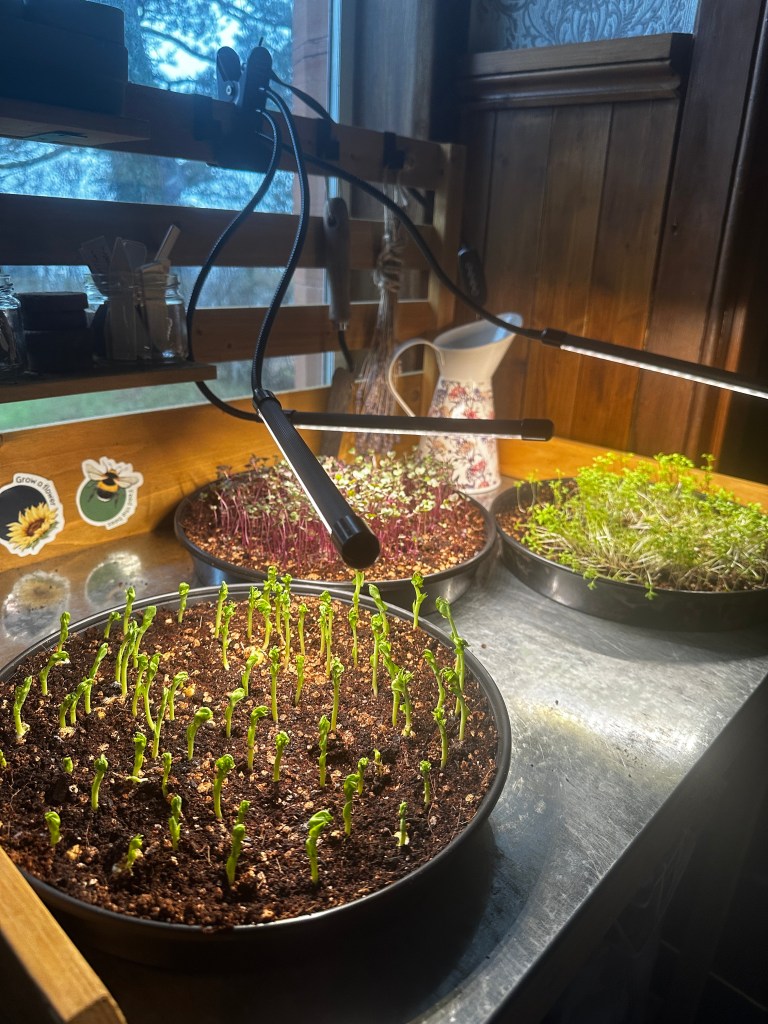
Our Microgreens grown on a large flat dish with soil

How to Grow Micro Greens In Soil
Growing Microgreens Without Soil (Hydroponic Method)
If you prefer less mess, you can grow microgreens soilless, using only water and a growing medium like paper towels, jute mats or coconut coir.
What You’ll Need:
Flat tray with no drainage holes
Growing mat (or a few layers of damp kitchen roll)
Seeds
Spray bottle
Step by Step Guide
- Moisten Your Medium: Place the jute mat or paper towel in the tray and mist until damp.
- Scatter Seeds: Spread them evenly, pressing lightly so they make contact with the surface.
- Cover & Germinate: Keep covered for 2-3 days, misting daily to maintain moisture.
- Uncover & Grow: Move to a bright spot once seeds sprout. Continue misting once or twice daily.
Hydroponic growing works best for smaller seeds like broccoli, kale and mustard. Peas and sunflowers tend to prefer soil, as they need more nutrients.
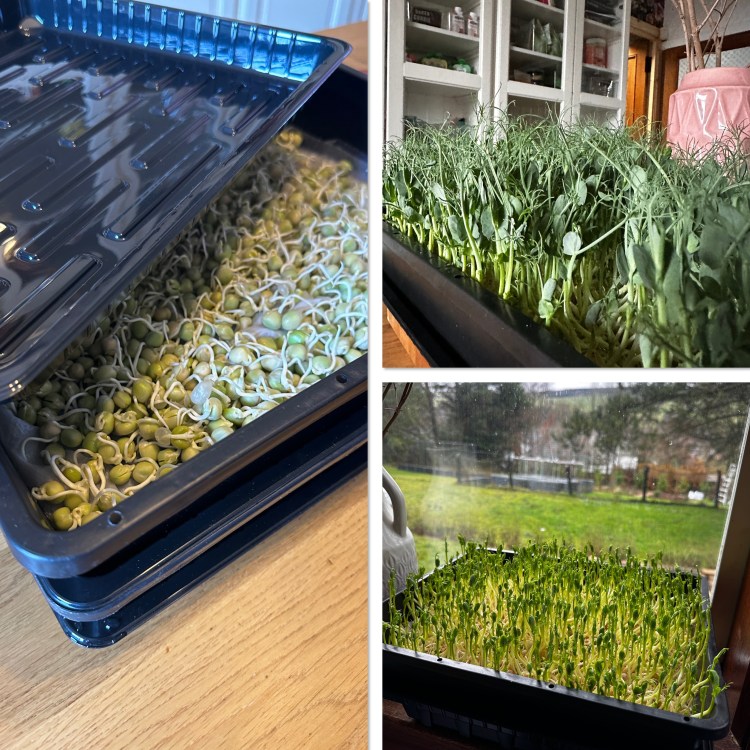
Our microgreens grown in trays with holes in on paper towels
How to Grow Micro Greens Without Any Soil
Using Recycled Materials to Grow Microgreens
You don’t need to buy fancy trays or kits. Many household items make excellent, free growing containers helping reduce waste and costs.
Ideas for Recycled Containers
Card Milk Cartons: Cut them in half lengthways for perfect mini trays.
Takeaway Containers: Great for no drain hydroponic setups.
Margarine Tubs, Yoghurt Pots or Fruit Punnets
You can even just use a shallow bowl!
To make these containers last longer, wash them thoroughly between crops and allow them to dry before reuse.
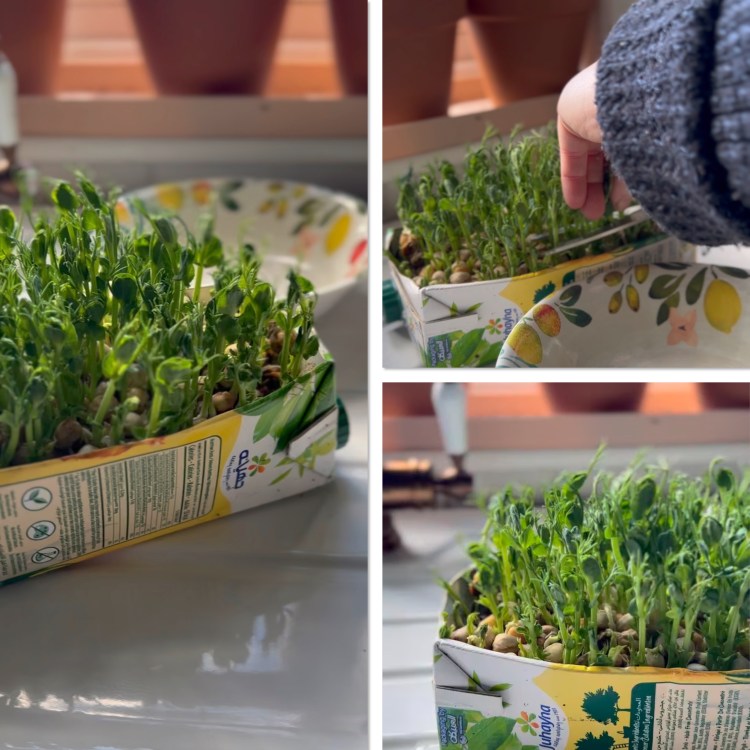
Our microgreens grown in cut open milk and juice cartons
Light and Temperature Tips for Winter Growing
Scottish Winters are dark, with short days and limited sunlight. Microgreens will still grow, but a bit of extra light makes a big difference.
Natural light: Place trays on south facing windowsills for maximum exposure.
Supplemental Light: A simple LED grow light or even a full spectrum desk lamp will help if your home is very dim. Aim for 12-14 hours of light per day.
Temperature: Keep your trays in a room between 15-20°C. Avoid cold draughts from windows or damp areas or very warm areas near radiators or fires.
Read about grow lights if windowsills are limited:
The Importance of Seed Starting with Heat Mats and Grow Lights
Harvesting and Using Your Microgreens
Harvest your greens just above the soil line using scissors. Rinse gently and use immediately or store them in a sealed container in the fridge for up to a week.
Delicious Ways to Use Microgreens
- Toss into salads for extra flavour and crunch
- Add to sandwiches or wraps instead of lettuce
- Sprinkle over soups, curries or stir fries just before serving
- Blend into smoothies or pestos for a nutrient boost
- Use as a garnish to elevate even the simplest dishes
My Favourite Way To Eat Them!
Small Greens, Big Impact
Growing microgreens indoors over Winter is a simple, sustainable way to stay connected to your food, even when the world outside is grey and frozen. They’re quick, rewarding and can be grown almost entirely from recycled materials.
In a few days, you’ll be snipping handfuls of healthy greens from your windowsill, proof that even in a darker days life keeps growing.
So grab those old milk cartons, save some seeds and start your own mini indoor food forest today. See our blog post on setting up a windowsill garden: 10 Reasons Why You Should Start a Windowsill Garden
Happy Gardening!


Katrina & Clayton and family live in East Ayrshire and share their daily life in the garden on instagram. They practice permaculture principles in the garden, reducing & repurposing waste whenever they can. Katrina shows how home educating in nature has helped Clayton thrive.
Clayton Completed The 2 Grow and Learn Courses with the Royal Caledonian Horticultural Society. He is Autistic, Non Verbal & has been Home Educated since 2018. Katrina & Peter hold their PDC & PDC PRO Permaculture Design Course from Oregon State University.
They featured on BBC Beechgrove Gardens Ep23 2022 and returned in 2023 for an update, Katrina & Clayton are also columnists for ScotlandGrows Magazine, Guest Blog for Caledonian Horticulture as well as working with Gardeners’ World Magazine and many other brands.
They are also Author of the new Children’s Book Series: Clayton’s Garden Journey: Stories of Autism and Gardening. Topics on Growing, Harvesting, Sowing & Composting and 108 Page Weather and Seasons Weekly Gardening Record Book available on Amazon and Kindle.
Listen in on their Guest Podcasts to learn more about them.

Get Weekly Blogs Straight To Your Inbox
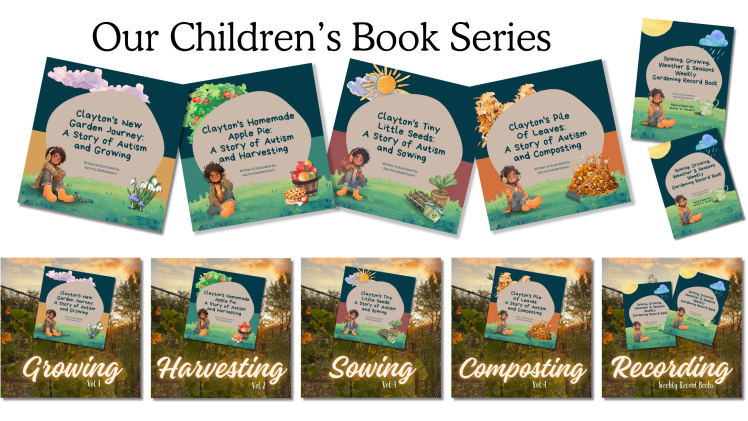
Our Children’s Book Series
Author of the new children’s book series: Clayton’s Garden Journey: Stories of Autism and Gardening and Sowing, Growing, Weather and Seasons Weekly Gardening Record Book available on Amazon and Kindle
Visit Our Print On Demand Stores
Redbubble Store – Worldwide! 200+ garden & nature-inspired designs on coasters, phone covers, tote bags, mouse mats and so much more. Perfect for plant lovers, gardeners and anyone who wants to bring a touch of the outdoors into everyday life

Discover more from Building a Food Forest -Scotland
Subscribe to get the latest posts sent to your email.
