
Get Weekly Blogs Straight To Your Inbox
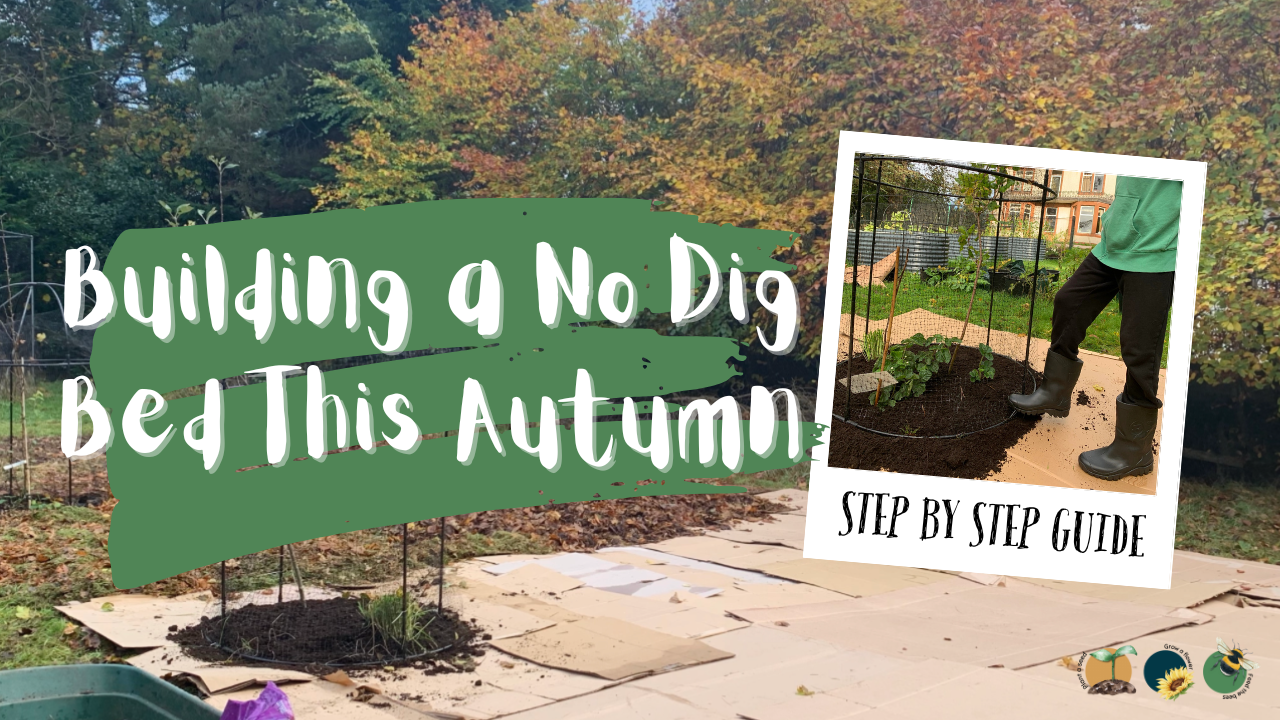
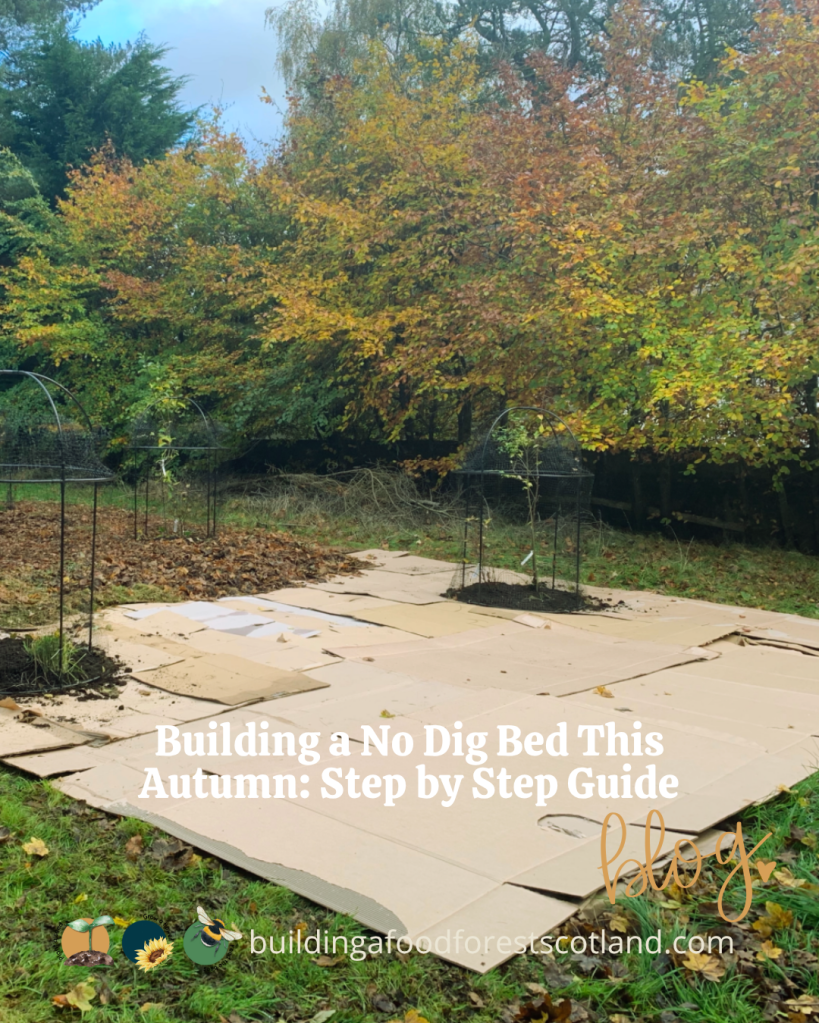
Building a No Dig Bed This Autumn: A Step by Step Guide
Autumn is a wonderful season to build a new bed using no dig techniques. The soil is cooling, leaves are falling and garden life is settling into its rest cycles. If you build now, you give soil organisms a head start before Spring.
Why Use No Dig / Sheet Mulch in Autumn?
In our“Practical & Creative Ways To Use Fallen Leaves Around Your Garden” blog post, we emphasise:
“Use layers of leaves, along with other organic materials like cardboard, grass clippings and compost, to build a new garden bed. This process, known as sheet mulching, mimics the natural layering found in forest ecosystems.” (Building a Food Forest -Scotland)
By emulating how forests deposit leaves, branches and organic matter on their soil surface, we foster a living soil community rather than disrupt it.
“By designing your garden to incorporate leaves as mulch or compost, you’re designing with nature’s larger patterns in mind — soil regeneration and improving soil health without tilling.” (Building a Food Forest -Scotland)
So the leaves underfoot become your building blocks, not waste. Applying them in the garden means capturing and utilising what is already available: leaves, grass clippings, cardboard, compost, everything gets used rather than being discarded.
Step-by-Step: Building Your No Dig Bed in Autumn
Here’s a practical step by step guide for constructing a no dig / sheet-mulch bed this Autumn.
Plan & Gather Materials
Decide your bed location and orientation
Look for a site that receives adequate light or at least dappled sun. If drainage is a concern (as in wetter Scotland soils) consider raised or well drained beds.
We are working on a large scale, but any size works, with raised sides or without
Collect leaf material and compost / leaf mould
Over Autumn, gather fallen leaves, gather compost, garden waste, grass clippings, or other organic matter. They don’t need to be placed in a compost bin and wait for them to compost down, you can compost in place, making layers of each material and letting it all get on with it.

Put your mower to work shredding leaves for you, we mow over the grass on the highest setting just whisking away the leaves to use
Acquire cardboard / newspaper (plain, uncoated)
This acts as a weed suppressing layer (sheet mulch base). We start collecting boxes and packing paper for most of the Summer months ready to get going in Autumn to early Winter when we have collected all the leaves.

Collecting card and packaging paper all Summer long ready to use
Step 1: Suppress Existing Vegetation / Weed Layer
If your area has lawn or weeds, lay down cardboard or newspaper over it, overlapping cardboard, with good overlap, covering flaps straight over grass without removing it as a sheet mulching approach. This is a natural way instead of putting down plastic sheeting to stop grass and weed growth, but you must be really meticulous about it leaving no gaps for anything to grow through, 2 layers are best if you have enough cardboard as you need it to take about a year to break down to stop the growth underneath.
Wet the cardboard down so it settles and begins to break down.
This forms the barrier layer, reducing the need for digging or weeding later.


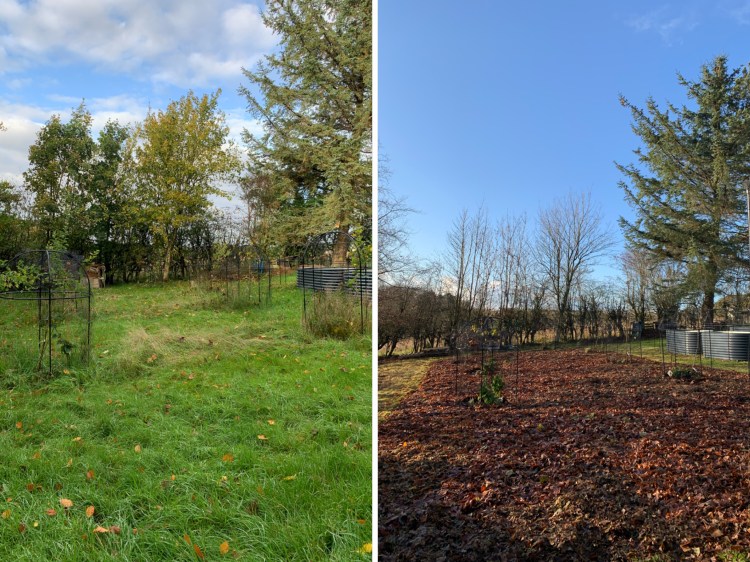
We were doing this around existing fruit trees and bushes that we had planted the year before
Step 2: Build Up Organic Layers: The “Lasagne” or Sheet Mulch
On top of the cardboard, layer organic materials focusing on leaves, compost, and other garden waste. In our Building a Mini Food Forest in a Raised Bed blog post we describe the method as the Hugelkultur method, layering with any grass clippings, coffee grounds, compost, leaf mould, shredded cardboard or paper, hair clippings, or other organic matter.
Woody/large carbon materials such as branches, pruning and smaller logs (optional)
These break down slowly and help structure the interior, these are only needed if you are filling a large raised bed.
Bulk leaf layers / leaf mulch / leaf mould
Spread a generous layer of leaves (either fresh or decomposed leaf mould) over the cardboard. This is your major carbon component.
Compost / nitrogen rich organic matter
Cover the leaf layer with compost from a compost bin, garden compost such as grass clippings (sprinkle these don’t clump together so they can breathe), kitchen waste (if well decomposed), or other nutrient rich matter.
Finer leaf mulch / shredded leaves / leaf bits
Top off with finer leaf mulch to protect the compost and begin the transition into the planting surface. (all the leaves you’ve shredded with the mower sprinkle around)
Planting topsoil / soil blend (if desired)
We do these areas/fill raised beds ready for the Spring to plant in and don’t add the top soil until then, allowing all of the organic matter to break down a bit until then. We usually finish them in October and then plan in them the following April. You may choose a planting mix layer if you are Autumn or early sowing.
After layering, lightly firm or water to settle the layers and reduce air gaps.
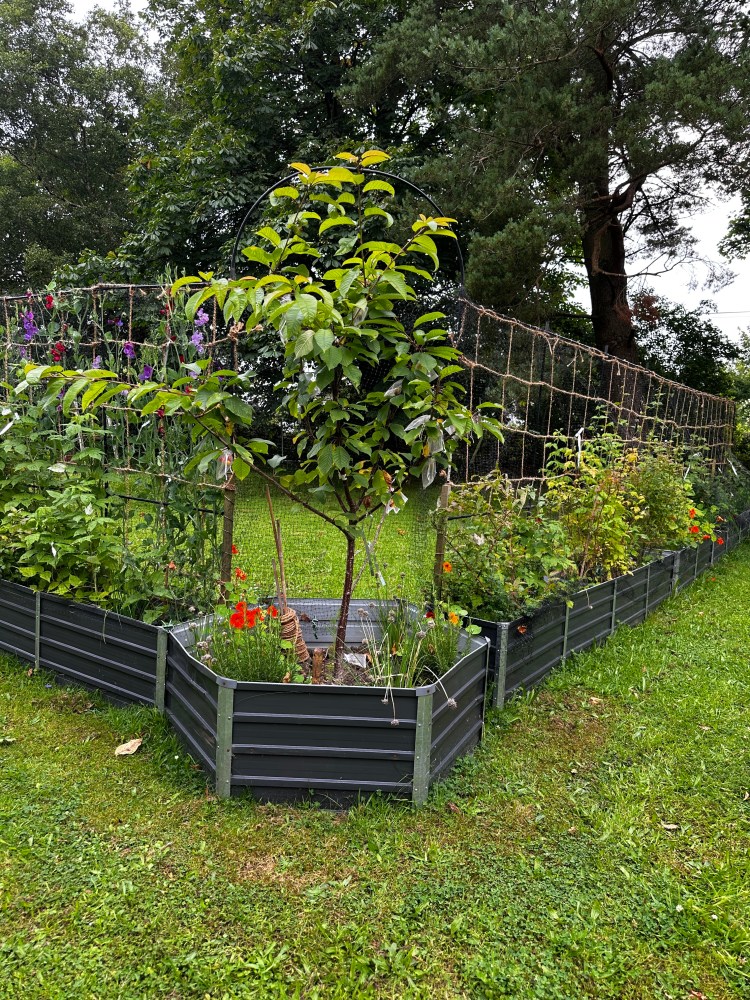
As well as our large no dig sheet mulching food forest areas, these raised beds were put up in the Autumn months and filled the same way
Step 3: Planting & Sowing
You can plant directly into the top layers by gently shifting aside the top soil and lower mulch layers, making a planting hole, positioning your plant, and then replacing the mulch. The cardboard and layers below will gradually break down, letting roots penetrate. (This is standard in sheet mulch approaches.)

In this area around our fruit trees and bushes that were already there we just added large amounts of top soil so not to get the based of the trees soggy with 6″ of leave mould. Read the full process here: Sheet Mulching a Large Grass Lawn Area To Build A Food Forest
Step 4: Protect, Top Up & Maintain Over Winter
Top up leaf mulch where necessary
As more leaves fall, add fresh mulch over your bed to maintain a blanket (5–10 cm or more) to protect soils and suppress weeds.
Avoid disturbing layers
Resist digging or turning. Let decomposition and biological activity do the work. The worms and ecosystem will be there doing it’s thing over the 6 months it is sitting there preparing to plant in next Spring.
Weed control
In year one, weeds may penetrate. Simply remove by hand. Over time, the mulch regime will suppress most weed pressure.
Observe soil condition
In Spring, check soil structure, earthworm activity and moisture retention. By Spring, your bed will be more settled and biologically active, ready to receive more planting and perennial integration.
Sample Timeline & Tips
| Period | Tasks |
|---|---|
| Late October to early November | Begin collecting leaves, composting or leaf moulding them; gather cardboard and organic matter. |
| Mid-November | Lay down cardboard over weed cover; start layering woody, leaf and compost materials. |
| Late November | Complete layering, firm gently, plant early hardy crops if desired. |
| Winter | Monitor, top up mulch, avoid disturbance. |
| Early Spring | Adjust, plant more, observe soil life and structure. |
Food Forest: Sheet Mulching The Ground Floor Reel Video
Building a no dig bed via sheet mulching this Autumn is a great way to begin regenerative soil work, especially in climates like Scotland’s. By using leaves, previous year’s leaf mulch, compost and cardboard layers it lets nature do the heavy lifting. You are creating a living system rather than a one off bed.
Leaves are treasure, layering mimics forest dynamics and permaculture principles like Produce No Waste and Use Local Resources guide thoughtful design. The same mindset to designing a mini food forests applies to your no dig bed.
Happy Gardening!


Katrina & Clayton and family live in East Ayrshire and share their daily life in the garden on instagram. They practice permaculture principles in the garden, reducing & repurposing waste whenever they can. Katrina shows how home educating in nature has helped Clayton thrive.
Clayton Completed The 2 Grow and Learn Courses with the Royal Caledonian Horticultural Society. He is Autistic, Non Verbal & has been Home Educated since 2018. Katrina & Peter hold their PDC & PDC PRO Permaculture Design Course from Oregon State University.
They featured on BBC Beechgrove Gardens Ep23 2022 and returned in 2023 for an update, Katrina & Clayton are also columnists for ScotlandGrows Magazine, Guest Blog for Caledonian Horticulture as well as working with Gardeners’ World Magazine and many other brands.
They are also Author of the new Children’s Book Series: Clayton’s Garden Journey: Stories of Autism and Gardening. Topics on Growing, Harvesting, Sowing & Composting and 108 Page Weather and Seasons Weekly Gardening Record Book available on Amazon and Kindle.
Listen in on their Guest Podcasts to learn more about them.

Get Weekly Blogs Straight To Your Inbox
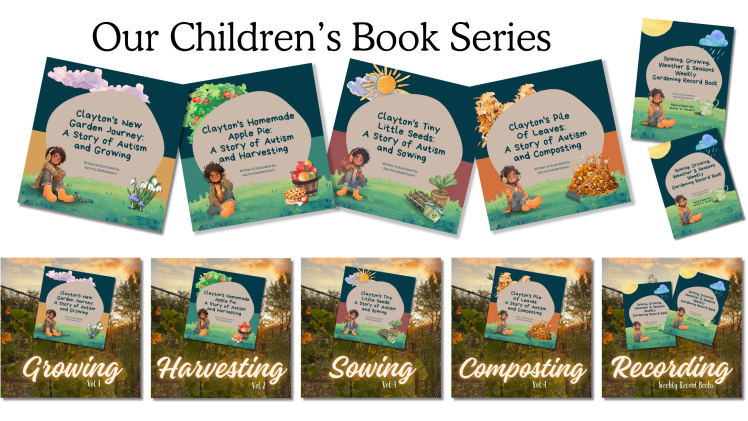
Our Children’s Book Series
Author of the new children’s book series: Clayton’s Garden Journey: Stories of Autism and Gardening and Sowing, Growing, Weather and Seasons Weekly Gardening Record Book available on Amazon and Kindle
Visit Our Print On Demand Stores
Redbubble Store – Worldwide! 200+ garden & nature-inspired designs on coasters, phone covers, tote bags, mouse mats and so much more. Perfect for plant lovers, gardeners and anyone who wants to bring a touch of the outdoors into everyday life

Discover more from Building a Food Forest -Scotland
Subscribe to get the latest posts sent to your email.
