

Get Weekly Blogs Straight To Your Inbox

You don’t need a huge space to start growing food and you don’t need a large space to start a food forest. Just start where you are & with what you have to move forward. Using the Permaculture Design Principles you can maximise your space to get the most from it.

The different layers of a food forest garden show the large tree canopies, with shrubs, herbs, groundcover and root layers. You can adapt these layers to smaller spaces too.
What Did We Do?
In this area we already have large tall trees and bushes, but there was no food growing in this area even though the sun hits it early in the morning & stays all day. In the summer we have the badminton net up here & use the driveway to play so did not want to cover this whole space.
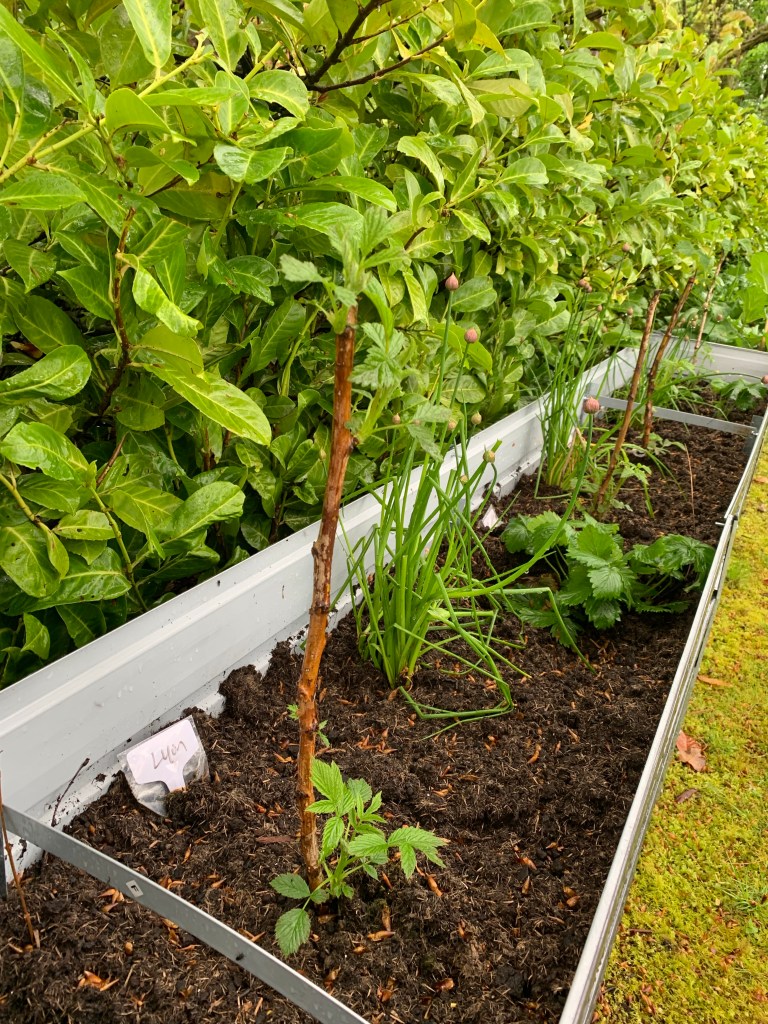
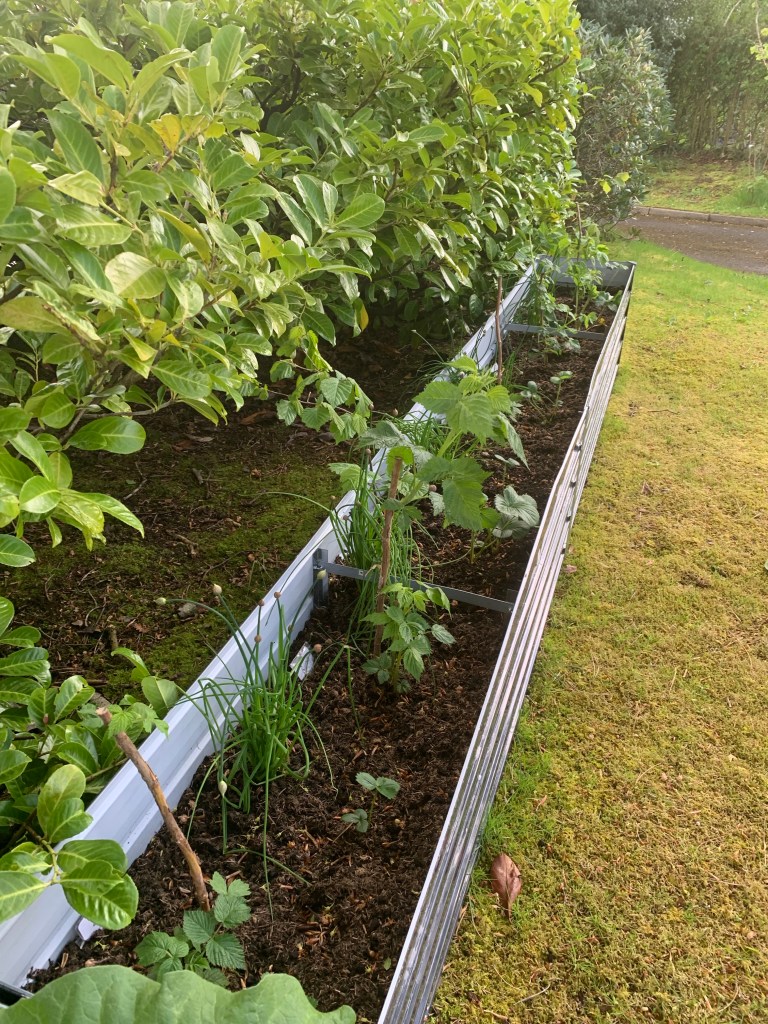
Recently the swing has been replaced with rings & has turned into an outside workout area, so this area is still being used, but we decided to use the space we had to put a long raised bed along the bushes. This one is 44cm wide, and consists of 3 separate ones making it over 32ft long (1000cm) We went as far as the area was flat, but I may add more later in the year to continue to the last bush or fill that space with some dwarf apple or plum trees. I haven’t decided yet.

How Did We Do It?
After building and placing the raised beds in we began filling them using the Hugelkultur method. This is the process of layering organic garden waste inside the raised garden bed, before adding soil.
This saves on costs and helps attracting and preserving moisture. This method is of German origin, hugelkultur translates to “mound or hill culture.” It is especially applicable in areas where soil retention and drainage are poor, which is typical of soils found in urban areas.
Starting with the bottom you would place any large rotting logs or sticks, filling up all the space as you go.
On top of that layering with any grass clippings, coffee grounds, compost, leave mould, shredded cardboard or paper, hair clippings, or other organic matter. Then add your top soil to plant into. I try to make sure it’s at least 8” deep.
As the material breaks down, it creates a flourishing environment for beneficial fungi and microbes that mimics the natural landscape of a forest.
There are many advantages to the Hugelkultur method, including soil quality improvement, minimal maintenance, and water retention and is an ideal opportunity to use this method whenever you start a new raised bed.


As with all our other raised beds we have added or made (out of metal corrugated roofing sheets), they are all metal which give us the flexibility of length & height and do not cost anywhere near as much as sleepers do due to the height we wanted them at.
For more details of our other raised bed project areas look at blogs:
Making Every Bit Of Space Usable. Building A Long Planter Raised Bed
Building a Mini Food Forest in a Small Area. Ours is On A Fence (Year 1)
What Did We Plant?
First we split our 2 large rhubarbs from the previous year into 4 and planted them in the centre raised bed


How Did We Use Permaculture Design To Plant?
Looking at the 7 layers of a food forest, this is how we planted up our raised beds

1. Tall Tree or Canopy Layers
These are already in this area above the raised beds. Not food, but they provide a home to a diverse array of animals and beneficial insects. There’s much more life than what you would find in an annual vegetable garden. In smaller spaces you would leave this layer out. We are lucky enough to already have this layer established.
2. Sub-Canopy or Large Shrub Layers
We have the large larrel leaf & rhodedendrums layer shrubs here, while these do not produce food, they do produce flowers to attract the bees. We will be looking at planting some dwarf Apple/Plum trees in the empty spaces behind the raised beds, there are 2 ideal slots these could be placed.
3. Shrub Layer
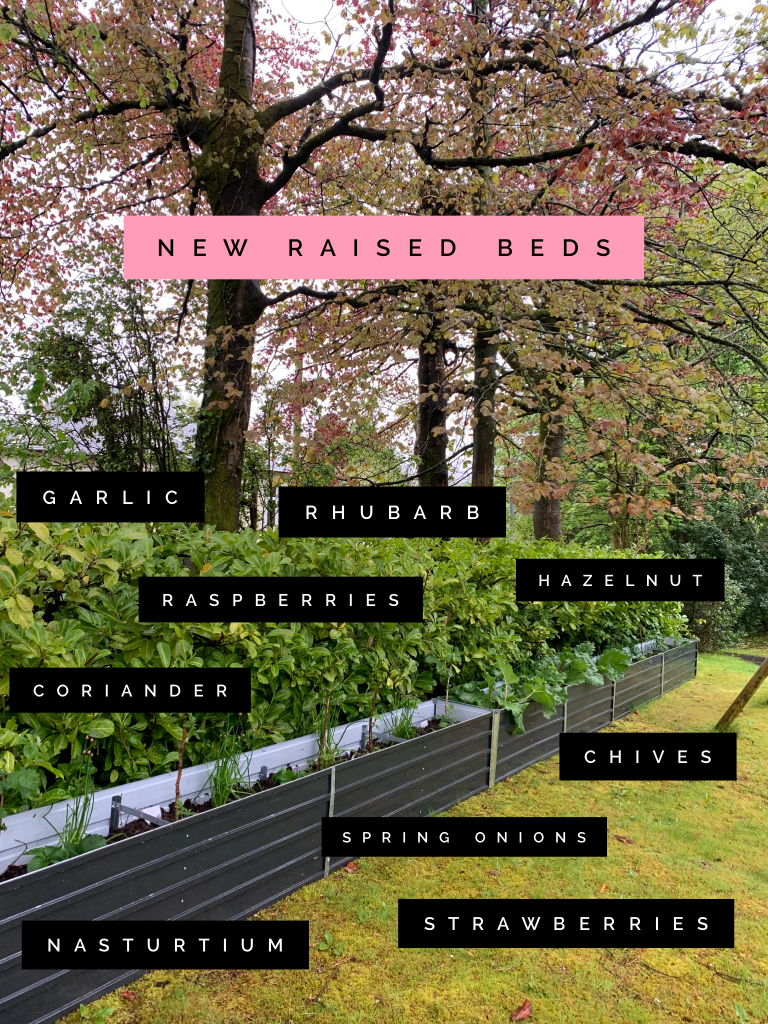
Planted in the Raised Bed – Raspberries & Hazelnut. There are 5 different types of Raspberry bare root canes in here, so harvesting should have a longer span from the earlies to the lates
4. Herbacious Layer
Planted in the Raised Beds – Chives, Coriander & Rhubarb, this is the layer where you’ll find most vegetables that you’d typically expect to be grown in a backyard garden.
5. Ground Cover Layer
Planted in the Raised Beds – Strawberries are in & Nasturtium seeds have be planted in here too. They will start to spread out creating the ground cover across the area.
6. Underground layer
Planted in the planters – Garlic & Spring Onions are in. Of course, these plants don’t just grow underground. So there’s often a lot of crossover here with plants in the herbaceous or groundcover layer as well.


All of this biodiversity also supports the permaculture garden concept of guilds. A guild is a group of mutually beneficial species that form a larger ecosystem. A food forest really is greater than just the sum of its parts.
Each layer of a food forest plays its own important role. When designing a food forest of your own, be sure to incorporate species from each layer. That way you will end up with the most resilient and self-sustaining food forest even in the smallest of spaces!
Check out our newest raised bed food forest pathway How to Build a Linear Food Forest in a Raised Bed: Small Space Gardening

Happy Gardening!


Katrina & Clayton and family live in East Ayrshire and share their daily life in the garden on instagram. They practice permaculture principles in the garden, reducing & repurposing waste whenever they can. Katrina shows how home educating in nature has helped Clayton thrive.
Clayton Completed The 2 Grow and Learn Courses with the Royal Caledonian Horticultural Society. He is Autistic, Non Verbal & has been Home Educated since 2018. Katrina & Peter hold their PDC & PDC PRO Permaculture Design Course from Oregon State University.
They featured on BBC Beechgrove Gardens Ep23 2022 and returned in 2023 for an update,Katrina & Clayton are also columnists for ScotlandGrows Magazine, Guest Blog for Caledonian Horticulture as well as working with Gardeners’ World Magazine and many other brands.
They are also Author of the new Children’s Book Series: Clayton’s Garden Journey: Stories of Autism and Gardening. Topics on Growing, Harvesting, Sowing & Composting and 108 Page Weather and Seasons Weekly Gardening Record Book available on Amazon and Kindle. Listen in on their Guest Podcasts to learn more about them.


Get Weekly Blogs Straight To Your Inbox
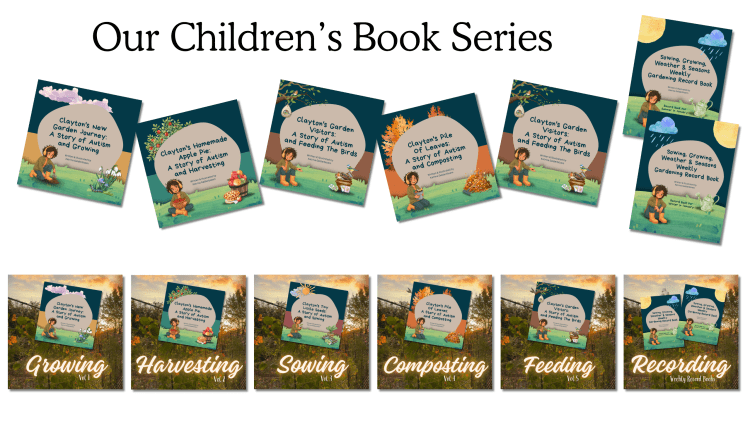
Our Children’s Book Series
Author of the new children’s book series: Clayton’s Garden Journey: Stories of Autism and Gardening. Including Stories on Growing, Harvesting, Sowing, Composting, Feeding The Birds and A Sowing, Growing, Weather and Seasons Weekly Gardening Record Book available on Amazon and Kindle
Visit Our Print On Demand Stores
Redbubble Store – Worldwide! 200+ garden & nature-inspired designs on coasters, phone covers, tote bags, mouse mats and so much more. Perfect for plant lovers, gardeners and anyone who wants to bring a touch of the outdoors into everyday life

Discover more from Building a Food Forest -Scotland
Subscribe to get the latest posts sent to your email.

4 thoughts on “Building a Mini Food Forest in a Raised Bed”