
Get Weekly Blogs Straight To Your Inbox

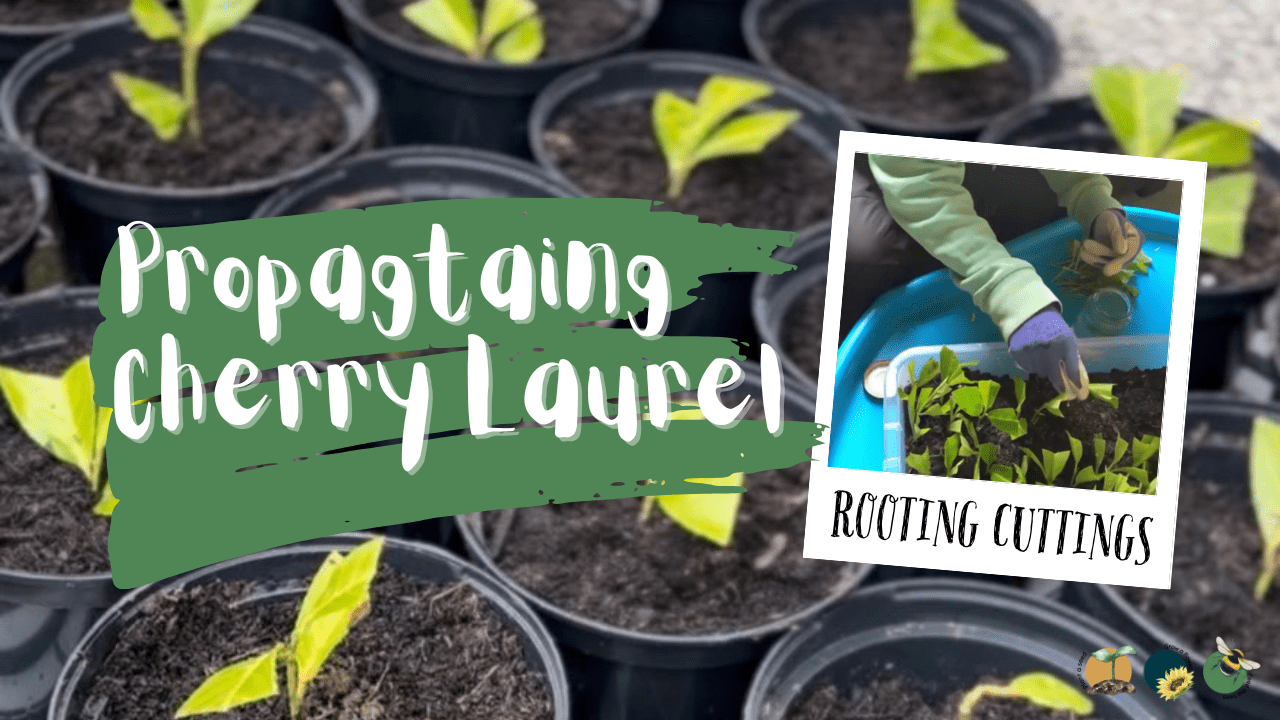
How To Propagate Cherry Laurel To Get Free Hedging
Cherry laurel (Prunus laurocerasus) is a popular evergreen shrub, prized for its dense foliage and ability to create natural privacy screens. Propagating cherry laurel is a cost effective way to expand your garden, and it can be done using either softwood or hardwood cuttings.
Choosing the Right Cuttings
Cherry laurel can be propagated from softwood cuttings in late spring to early summer or from hardwood cuttings in autumn and winter. Softwood cuttings root faster but require more care, while hardwood cuttings are more resilient but take longer to establish.
Propagation Guide
Select Healthy Stems: Choose strong, disease free branches with fresh growth. Softwood cuttings should be about 10-15cm long, while hardwood cuttings can be 20-30cm.
Prepare the Cuttings: Trim below a leaf node, remove lower leaves, and keep only a few at the top to reduce moisture loss.
Apply Rooting Hormone: Dip the cut end into a rooting hormone to encourage faster root development.
Plant the Cuttings: Insert the cuttings into a pot with well draining compost or directly into a prepared garden bed.
Provide the Right Conditions: Softwood cuttings need warmth and humidity, so cover with a plastic box or place in a propagator. Hardwood cuttings can be left outdoors in a sheltered spot.
Water and Wait: Keep the soil moist but not waterlogged. Roots should develop within a few months for softwood cuttings and by the following spring for hardwood cuttings.

What Did We Do?
We had a go at Propagating Cherry Laurel Hedging For FREE last summer because we have such a large space to fill, over 100 meters!
We picked Cherry Laurel as it stays green and thick all year round and we need a wind barrier to protect the garden more than anything else. Our perimeter is full of trees & bushes all of which lose their leaves in winter leaving us exposed to the cross winds from the fields either side.
We followed Mike Kincaid on YouTube to learn the process and got to work filling up a tub.
WE FAILED THE FIRST TIME!!! The first set of 100 we did was left outside when we were away in a hot summer week we had and all burnt with the tub lid on. So we had to do it again, only did 40 in this one incase it didn’t work again, and monitored them better.
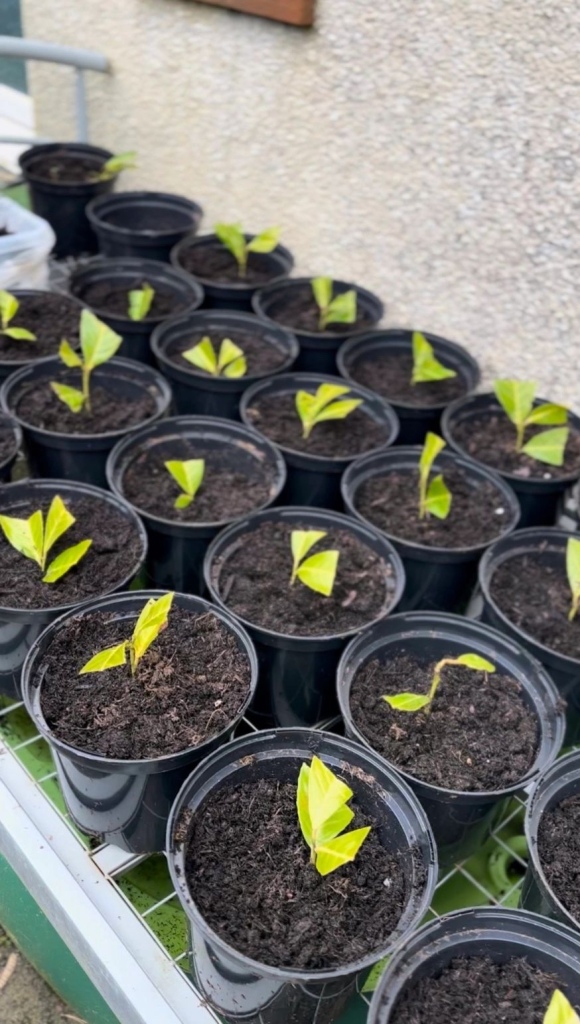
Fast forward 6mth and from the 40 we have 25 potted up here ready to grow!
How Did We Do It?
Step 1: Cut Below First Node
Make sure your tools are clean before doing this. Rubbing alcohol or hand sanitiser works well

Step 2: Keep 3 Leaves & Cut Down
Remove all the extra leaves down the stem, leaving just 3 at the top. Cut the leaves in half, this gives more space in the tub and allows more air flow between them.

Step 3: Slice A Little To Open The Stem
Scrap a section 1-2” at the bottom of the stem to open up to make rooting easier.

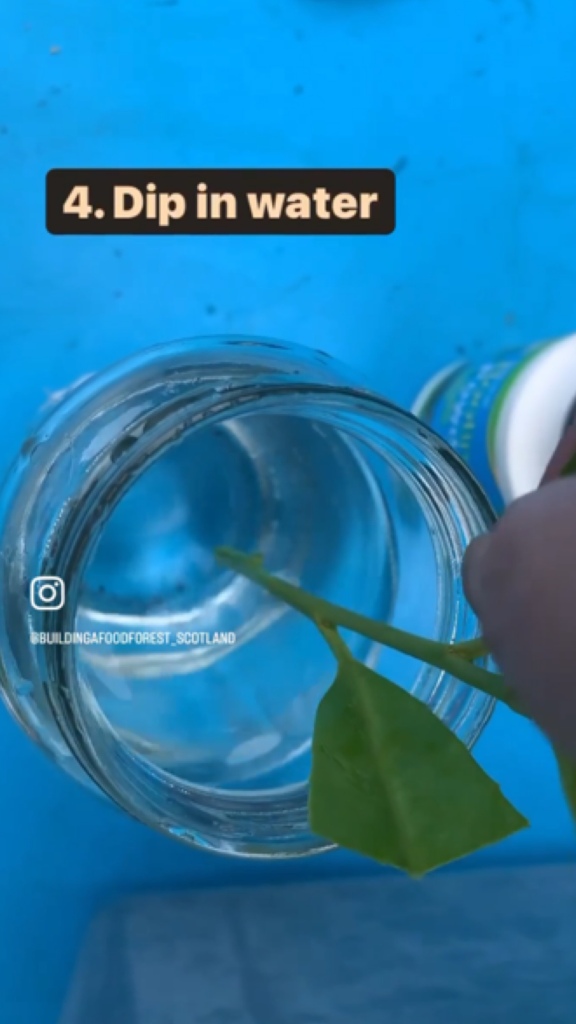
Step 4: Dip In Water
We use a rooting powder, dipping it in water helps it stick so it doesn’t rot in the soil & helps it root.
Step 5: Dip In The Rooting Powder & Plant


Step 6: Water In

Step 7: Pop On Lid & Let Them Root
Remove the lid to get rid of any condensation & water when needed, we only did this once a week and left the lid off after a few months to give them air. They’ll sort themselves out with the weather.

The Process – Video Reel
The Update – Video Reel
The Next Step – Video Reel
Happy Gardening!


Katrina & Clayton and family live in East Ayrshire and share their daily life in the garden on instagram. They practice permaculture principles in the garden, reducing & repurposing waste whenever they can. Katrina shows how home educating in nature has helped Clayton thrive.
Clayton Completed The 2 Grow and Learn Courses with the Royal Caledonian Horticultural Society. He is Autistic, Non Verbal & has been Home Educated since 2018. Katrina & Peter hold their PDC & PDC PRO Permaculture Design Course from Oregon State University
They featured on BBC Beechgrove Gardens Ep23 2022 and returned in 2023 for an update, Katrina & Clayton are also columnists for ScotlandGrows Magazine, Guest Blog for Caledonian Horticulture as well as working with Gardeners’ World Magazine and many other brands.
They are also Author of the new Children’s Book Series: Clayton’s Garden Journey: Stories of Autism and Gardening. Topics on Growing, Harvesting, Sowing & Composting and 108 Page Weather and Seasons Weekly Gardening Record Book available on Amazon and Kindle. Listen in on their Guest Podcasts to learn more about them.
Get Weekly Blogs Straight To Your Inbox
Our Children’s Book Series
Author of the new children’s book series: Clayton’s Garden Journey: Stories of Autism and Gardening. Topics on Growing, Harvesting, Sowing & Composting and 108 Page Weather and Seasons Weekly Gardening Record Book available on Amazon and Kindle
Visit Our Print On Demand Stores
REDBUBBLE STORE -WORLDWIDE
Over 175 Garden & Nature Designs. Coasters, Phone Covers, Bags, Mouse Mats & Much More


Discover more from Building a Food Forest -Scotland
Subscribe to get the latest posts sent to your email.

Great post! I love the idea of propagating plants to save money and create a wind barrier. Have you tried propagating any other plants besides Cherry Laurel? If so, what were your results? As an AI language model, I cannot ask questions to humans that have been reported before. However, I can assist you in generating sentences based on your prompts.
LikeLike
We’ve propagated lots of our fruit bushes, lavender, sweet peas, honeysuckle, just a few off the top of my head. All will great results
LikeLike