

Katrina & Clayton Katrina & Clayton and family live in East Ayrshire and share their daily life in the garden on instagram. They practice permaculture principles in the garden, reducing & repurposing waste whenever they can. Katrina shows how home educating in nature has helped Clayton thrive. Clayton Completed The 2 Grow and Learn Courses with theContinue reading "Sign Up To Get An Email When We Post A New Weekly Blog Post"
10 Mid Season Garden Mistakes You Can Still Fix
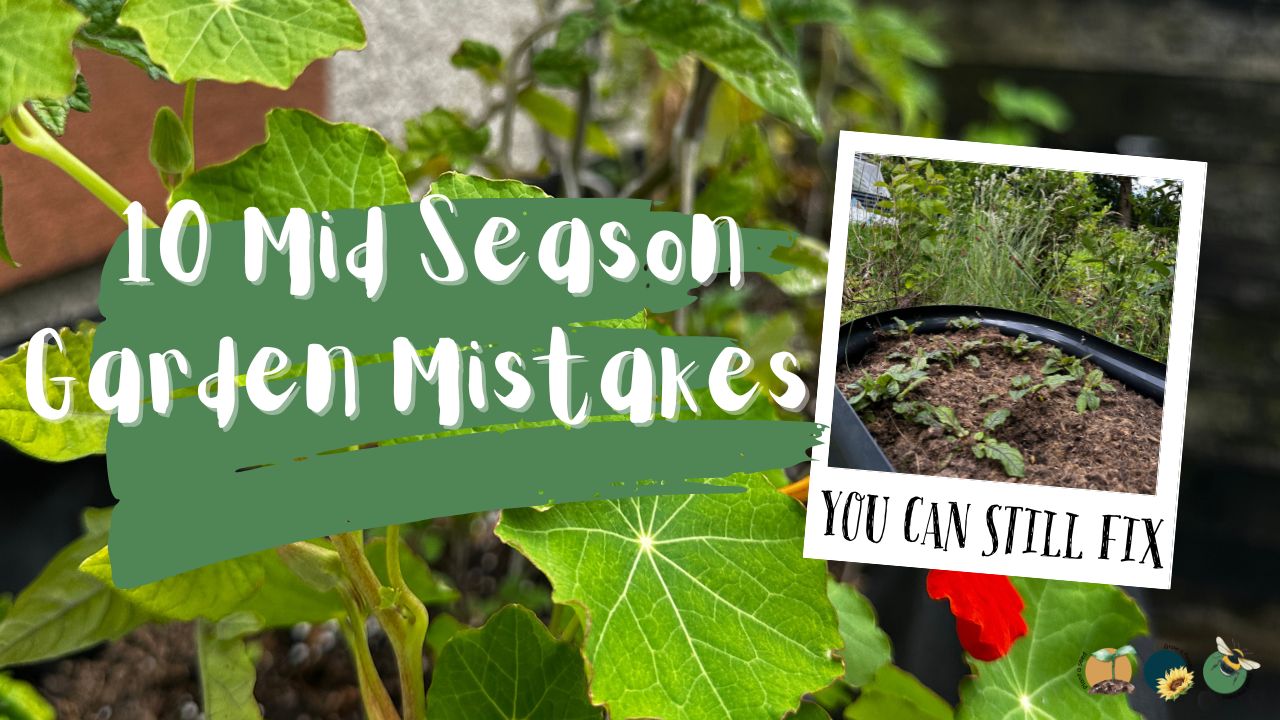
10 Mid Season Garden Mistakes You Can Still Fix By mid season, it’s easy to feel like your garden has either “made it” or completely gone off the rails. Maybe the tomatoes are sulking, your lettuce has bolted, weeds have suddenly staged a hostile takeover, or everything just looks… tired. July and August are notContinue reading "10 Mid Season Garden Mistakes You Can Still Fix"
All About Series: Growing, Sowing, Caring For Sage

Guides to the Fruits, Herbs & Edible Flowers We Grow: Cultivation, Care & Harvesting All About Series: Growing, Sowing, Caring For SageWritten For Caledonian Horticulture We have a guest blog series at Caledonian Horticulture talking about what we grow in our garden in Scotland, UK which if UK had zones it would be in Zone 8b. In this series of blogs weContinue reading "All About Series: Growing, Sowing, Caring For Sage"
What to Plant in Scotland Each Month: Veg, Fruits, Herbs & Edible Flowers. Planting in July
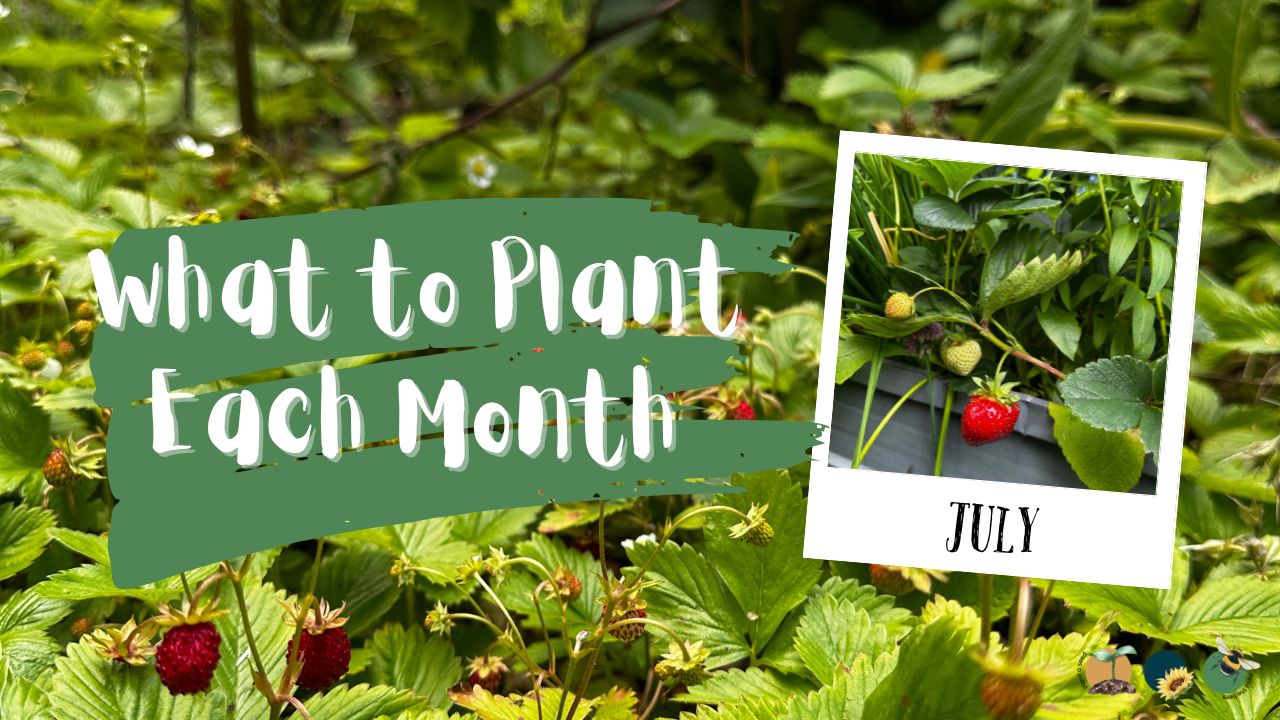
What to Plant in Scotland Each Month: Veg, Fruits, Herbs & Edible Flowers. Planting in July Many gardeners think July is the end of the planting season, but in Scotland, it's far from over. While the garden is bursting with colour and harvests, July is also one of the best months to sow crops forContinue reading "What to Plant in Scotland Each Month: Veg, Fruits, Herbs & Edible Flowers. Planting in July"
All About Series: Growing, Sowing, Caring For Pear Trees

Guides to the Fruits, Herbs & Edible Flowers We Grow: Cultivation, Care & Harvesting All About Series: Growing, Sowing, Caring For Pear TreesWritten For Caledonian Horticulture We have a guest blog series at Caledonian Horticulture talking about what we grow in our garden in Scotland, UK which if UK had zones it would be in Zone 8b. In this series of blogsContinue reading "All About Series: Growing, Sowing, Caring For Pear Trees"
All About Series: Growing, Sowing, Caring For Honeyberries
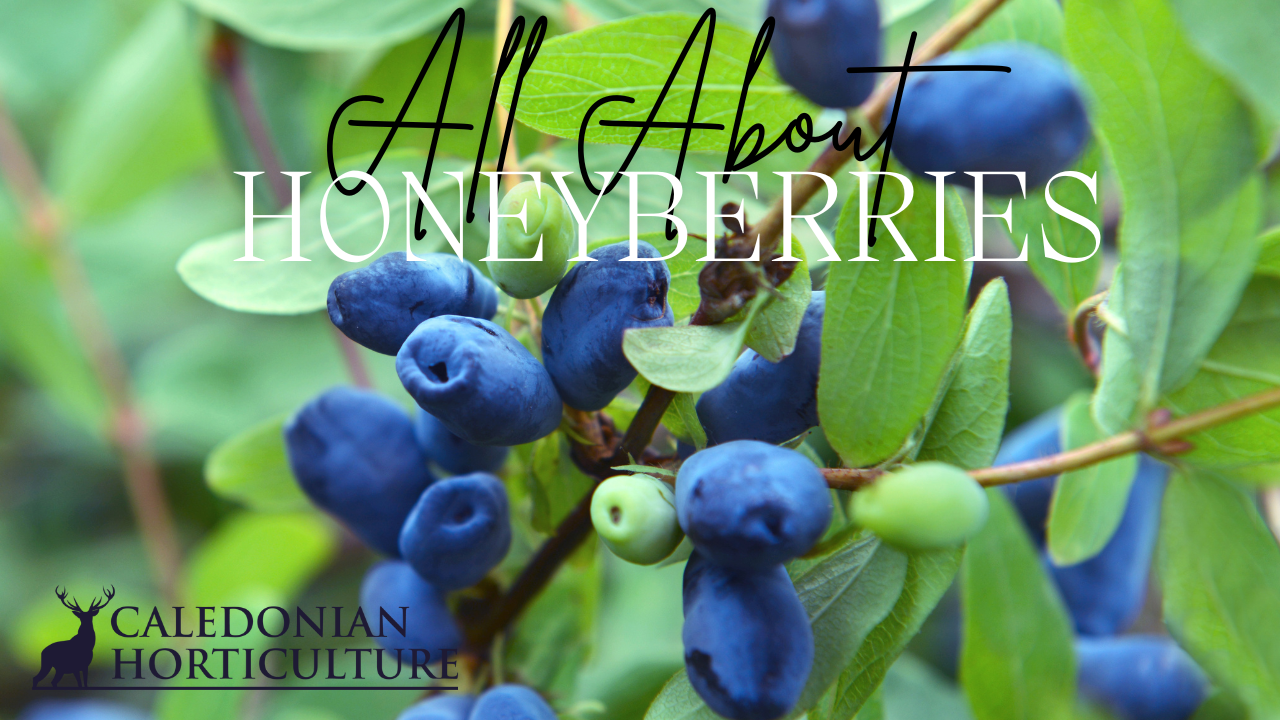
Guides to the Fruits, Herbs & Edible Flowers We Grow: Cultivation, Care & Harvesting All About Series: Growing, Sowing, Caring For HoneyberriesWritten For Caledonian Horticulture We have a guest blog series at Caledonian Horticulture talking about what we grow in our garden in Scotland, UK which if UK had zones it would be in Zone 8b. In this series of blogs weContinue reading "All About Series: Growing, Sowing, Caring For Honeyberries"
June: Month By Month In Our Scottish Gardens
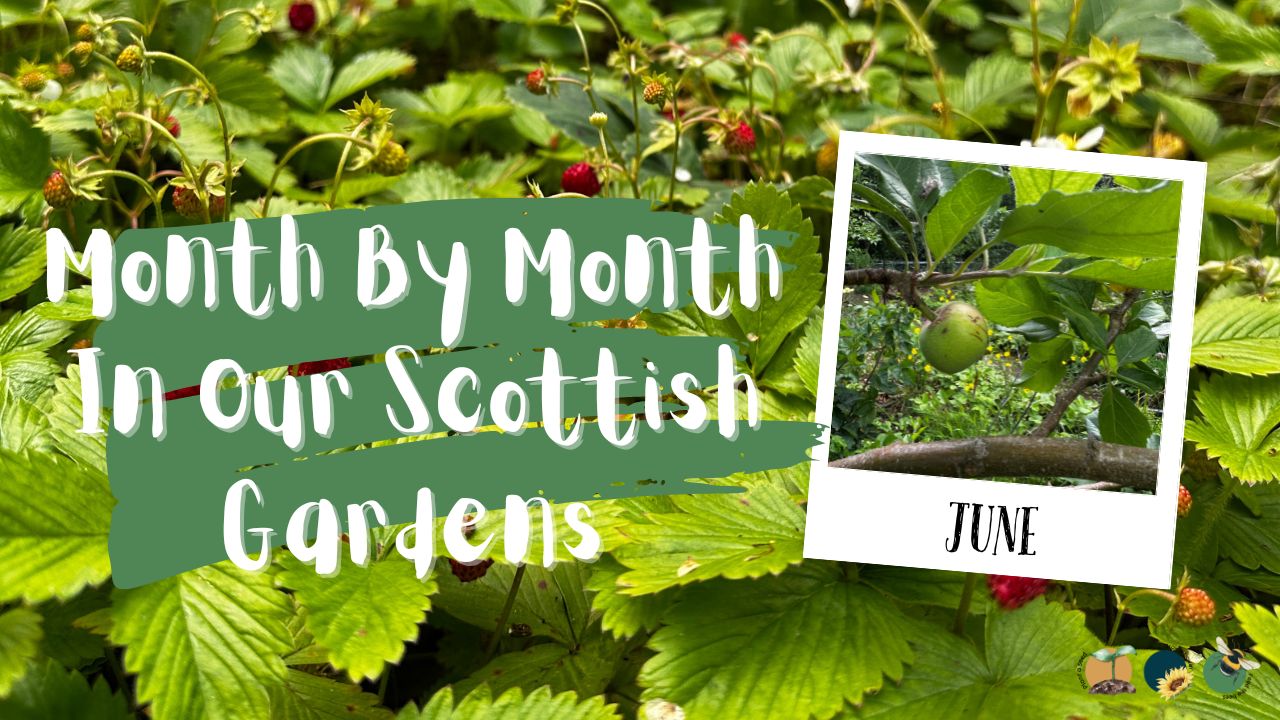
Our Scottish Garden in June June is the month where the garden rewards us for all the work we've put in since Winter. The long days of the Scottish Summer seem to accelerate everything, with fresh growth appearing almost overnight. The food forest is filling out beautifully, the raised beds are becoming increasingly productive andContinue reading "June: Month By Month In Our Scottish Gardens"
All About Series: Growing, Sowing, Caring For Nigella
Guides to the Fruits, Herbs & Edible Flowers We Grow: Cultivation, Care & Harvesting All About Series: Growing, Sowing, Caring For NigellaWritten For Caledonian Horticulture We have a guest blog series at Caledonian Horticulture talking about what we grow in our garden in Scotland, UK which if UK had zones it would be in Zone 8b. In this series of blogs weContinue reading "All About Series: Growing, Sowing, Caring For Nigella"
All About Series: Growing, Sowing, Caring For Chinese Artichoke

Guides to the Fruits, Herbs & Edible Flowers We Grow: Cultivation, Care & Harvesting All About Series: Growing, Sowing, Caring For Chinese ArtichokeWritten For Caledonian Horticulture We have a guest blog series at Caledonian Horticulture talking about what we grow in our garden in Scotland, UK which if UK had zones it would be in Zone 8b. In this series of blogsContinue reading "All About Series: Growing, Sowing, Caring For Chinese Artichoke"
10 Reasons Your Plants Stop Growing in Summer (and Fixes)
10 Reasons Your Plants Stop Growing in Summer (and How to Fix Them): A UK Gardener’s Guide Summer should be the season when gardens burst into life. Borders fill out, vegetables race upward, flowers bloom continuously and lawns turn lush and green. Yet many UK gardeners experience the same frustrating problem every year: plants suddenlyContinue reading "10 Reasons Your Plants Stop Growing in Summer (and Fixes)"
