
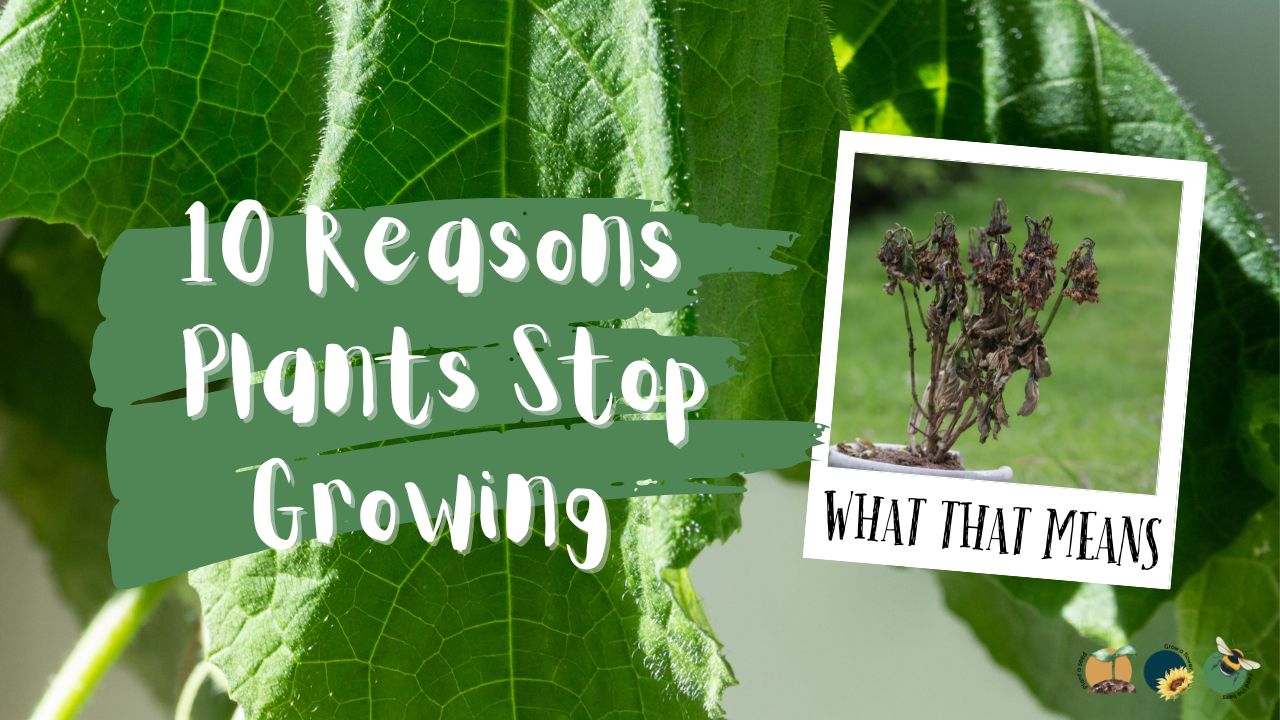
10 Reasons Your Plants Stop Growing in Summer (and How to Fix Them): A UK Gardener’s Guide Summer should be the season when gardens burst into life. Borders fill out, vegetables race upward, flowers bloom continuously and lawns turn lush and green. Yet many UK gardeners experience the same frustrating problem every year: plants suddenlyContinue reading "10 Reasons Your Plants Stop Growing in Summer (and Fixes)"
All About Series: Growing, Sowing, Caring For Thyme
Guides to the Fruits, Herbs & Edible Flowers We Grow: Cultivation, Care & Harvesting All About Series: Growing, Sowing, Caring For ThymeWritten For Caledonian Horticulture We have a guest blog series at Caledonian Horticulture talking about what we grow in our garden in Scotland, UK which if UK had zones it would be in Zone 8b. In this series of blogs weContinue reading "All About Series: Growing, Sowing, Caring For Thyme"
What to Plant in Scotland Each Month: Veg, Fruits, Herbs & Edible Flowers. Planting in June
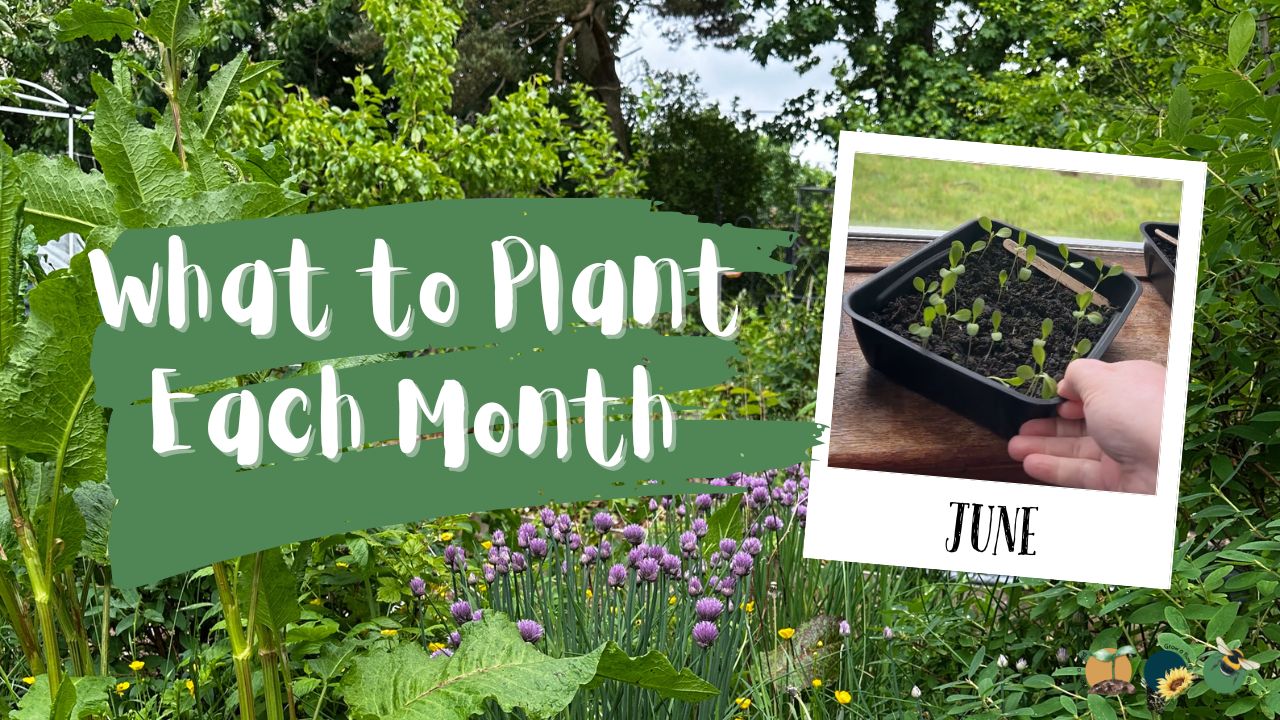
What to Plant in Scotland Each Month: Veg, Fruits, Herbs & Edible Flowers. Planting in June June is when Scottish gardens hit their stride, growth speeds up, beds begin filling out and there’s still plenty you can sow for later harvests. It’s also the month for succession sowing keeping crops coming right through Summer andContinue reading "What to Plant in Scotland Each Month: Veg, Fruits, Herbs & Edible Flowers. Planting in June"
All About Series: Growing, Sowing, Caring For Cherry Trees
Guides to the Fruits, Herbs & Edible Flowers We Grow: Cultivation, Care & Harvesting All About Series: Growing, Sowing, Caring For Cherry TreesWritten For Caledonian Horticulture We have a guest blog series at Caledonian Horticulture talking about what we grow in our garden in Scotland, UK which if UK had zones it would be in Zone 8b. In this series of blogsContinue reading "All About Series: Growing, Sowing, Caring For Cherry Trees"
May: Month By Month In Our Scottish Gardens
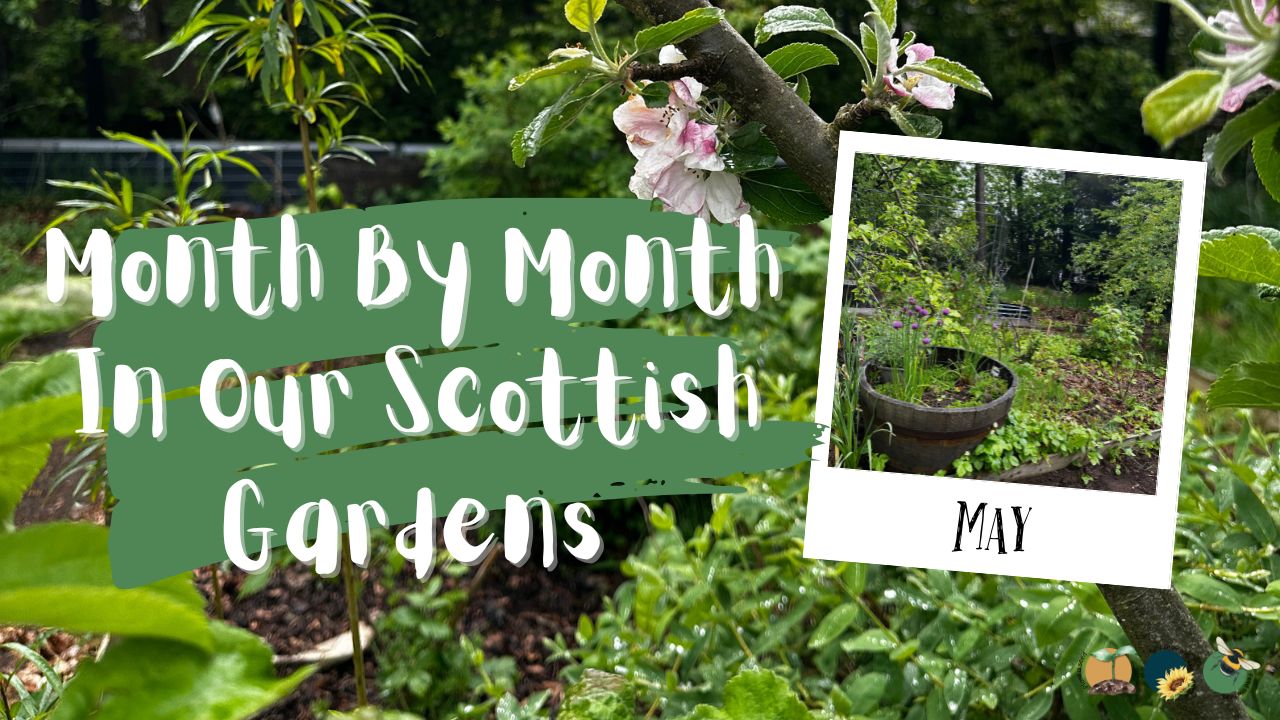
May: Month By Month In Our Scottish Gardens The Food Forest, The Raised Bed Garden & The Kitchen Courtyard Our Scottish Garden in May May is the month where our Scottish garden truly comes alive. After the tentative beginnings of Spring, growth now feels confident and unstoppable. The days stretch longer, warmth lingers a littleContinue reading "May: Month By Month In Our Scottish Gardens"
All About Series: Growing, Sowing, Caring For Evening Primrose
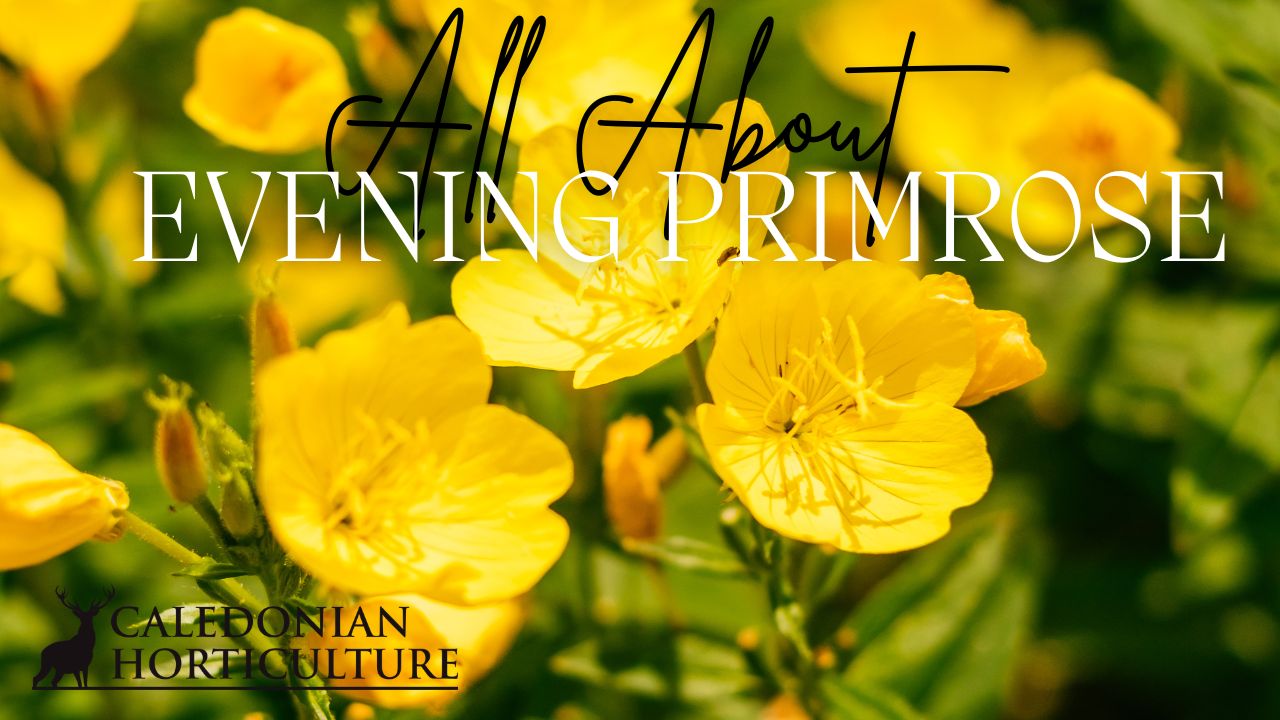
Guides to the Fruits, Herbs & Edible Flowers We Grow: Cultivation, Care & Harvesting All About Series: Growing, Sowing, Caring For Evening PrimroseWritten For Caledonian Horticulture We have a guest blog series at Caledonian Horticulture talking about what we grow in our garden in Scotland, UK which if UK had zones it would be in Zone 8b. In this series of blogsContinue reading "All About Series: Growing, Sowing, Caring For Evening Primrose"
10 Common UK Garden Pests and What Their Presence Means
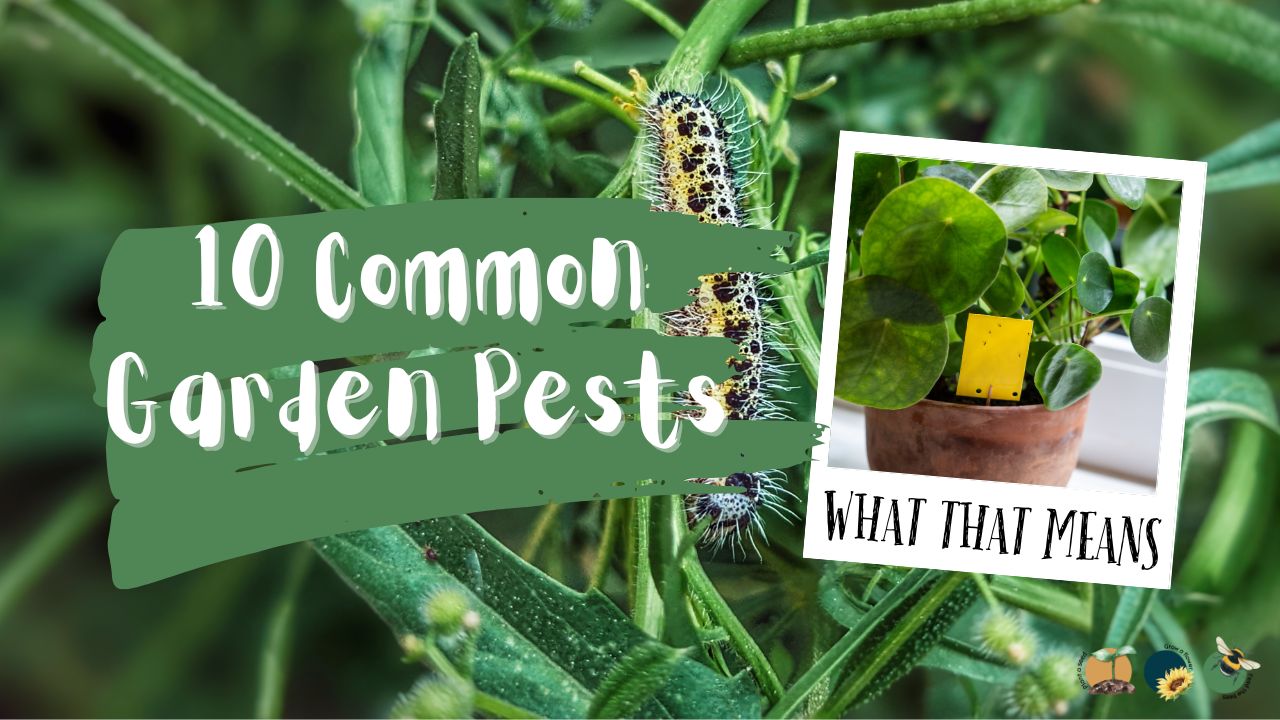
10 Common UK Garden Pests and What Their Presence Means Spotting pests in your garden can feel frustrating, especially after weeks of nurturing healthy plants. But pests are often more than just unwanted visitors. Their presence can reveal important clues about the health of your soil, the condition of your plants and even imbalances inContinue reading "10 Common UK Garden Pests and What Their Presence Means"
All About Series: Growing, Sowing, Caring For Borage
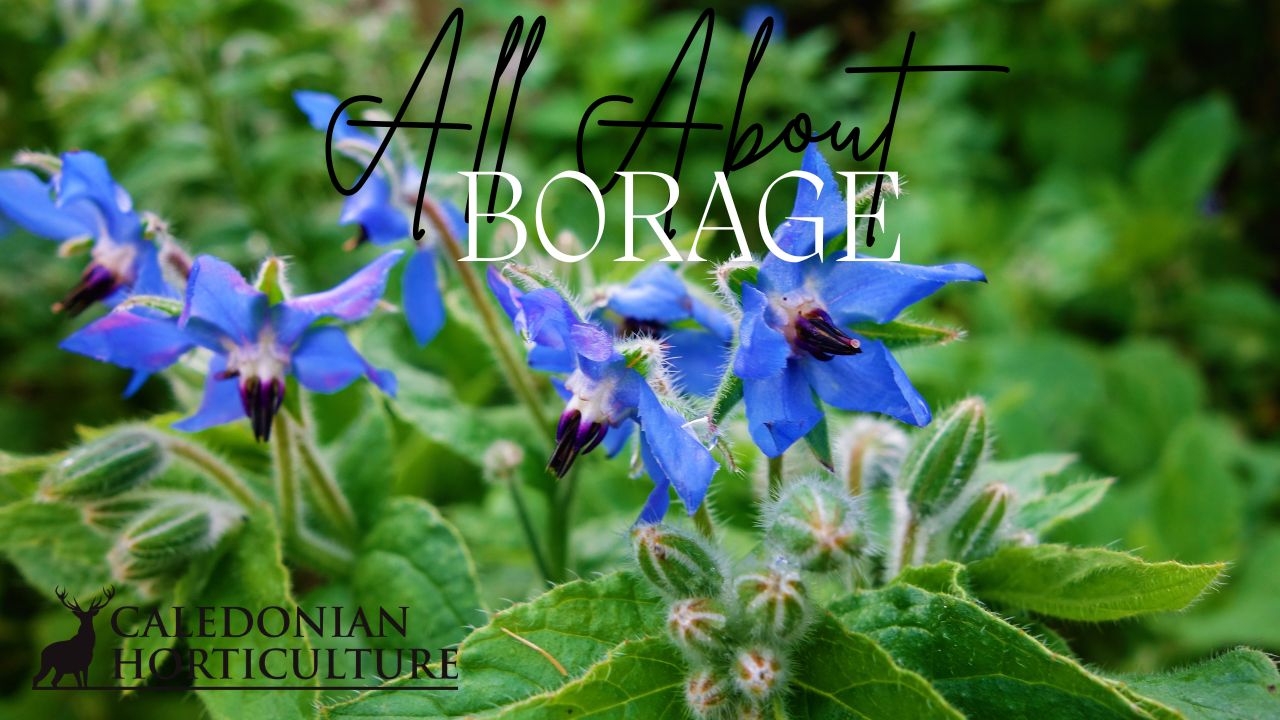
Guides to the Fruits, Herbs & Edible Flowers We Grow: Cultivation, Care & Harvesting All About Series: Growing, Sowing, Caring For BorageWritten For Caledonian Horticulture We have a guest blog series at Caledonian Horticulture talking about what we grow in our garden in Scotland, UK which if UK had zones it would be in Zone 8b. In this series of blogs weContinue reading "All About Series: Growing, Sowing, Caring For Borage"
All About Series: Growing, Sowing, Caring For Parsley
Guides to the Fruits, Herbs & Edible Flowers We Grow: Cultivation, Care & Harvesting All About Series: Growing, Sowing, Caring For ParsleyWritten For Caledonian Horticulture We have a guest blog series at Caledonian Horticulture talking about what we grow in our garden in Scotland, UK which if UK had zones it would be in Zone 8b. In this series of blogs weContinue reading "All About Series: Growing, Sowing, Caring For Parsley"
